

I have written elsewhere that when you want to make changes, if the changes make your life easier you will keep them up, if they make things more difficult, then it is less likely that you will.
Years ago, I made a rocket stove to cook on, but it has not had too much use recently because it is stored in the garage, and I have to pull it out and set it up on the edge of the back deck so I can use it. Being on the edge of the deck it is quite exposed to the elements so that reduced the amount of use it would get.
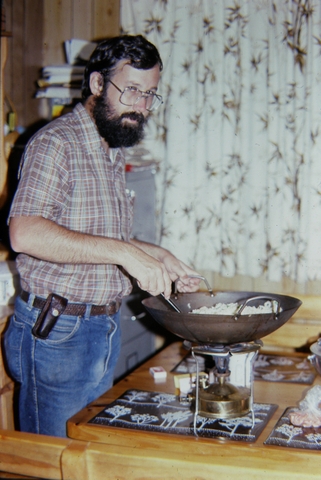
Back when I still had hair and colour in my beard!
Just recently we have removed a lot of clutter and unneeded equipment from the back deck, which has freed up an area that I thought would be ideal for siting the rocket stove. I could set it up so it would be ready to cook within a moment’s notice and that would certainly make my life easier, at least in terms of cooking on the rocket stove. Excellent!
As usual, nothing is ever that simple! When I floated my idea past my blushing bride She was fairly cool on the idea. The rocket stove is, shall we say, rustic! (it looks like crap) and she wanted the back deck to look nice. I needed to come up with some form of compromise!
What I came up with was to make box that would go over the top of the rocket stove. It could be used as a small table beside the chairs, it would protect the rocket stove in the event that rain was blown in under the back deck and I could sit the rocket stove on top of it which would put the rocket stove at a good height for cooking!
I let her know my idea and it was subsequently approved!
Making the box
I wanted the structure to be light, but strong enough to be able to support the rocket stove on top without causing any problems. I lacked anything in my store of bits to use for the box so picked up some 7mm plywood in roughly 400mm x 1200mm sheets. When I measured up the rocket stove I worked out that I needed the box to be roughly 400mm wide by 500mm high, and so these sheets seemed to fit things best.
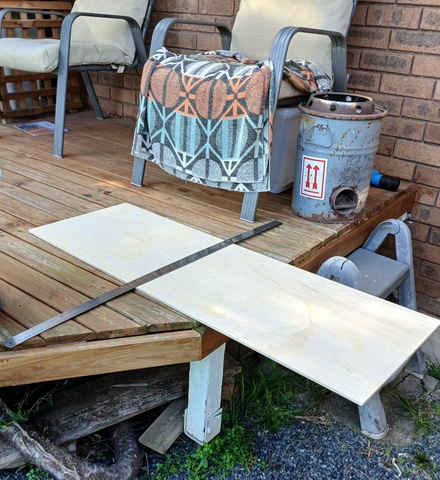
Gotta start somewhere!
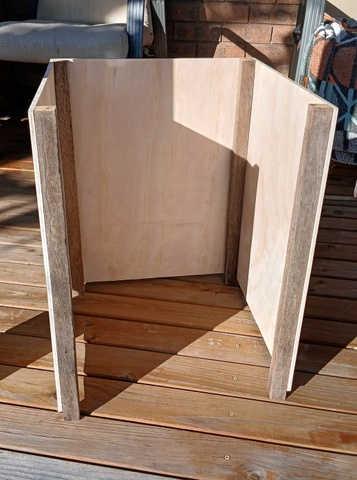
Using our circular saw I cut the four side panels to 400mm x 500mm and the top to 400mm x 415mm. To attach the sides to each other to form the box, I had some 25mm x 25mm timber that I cut four 520mm pieces from so that I could place them in the corners of the box and then use some 25mm 8 gauge button head wood screws to fasten the sides of the box to these corner supports. The supports protruded 50mm below the box to make it easier to set the box up as a stable platform, suitable for cooking on. With two supports screwed on each side of two panels, then the two remaining panels screwed onto the supports, this formed the sides of the box.
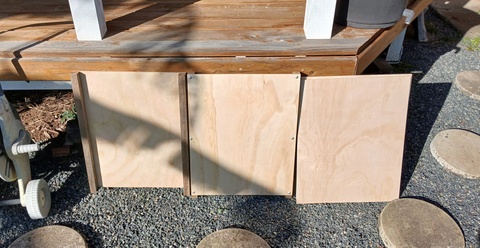
Panels cut and supports screwed into place
On the inside of what would become the top of the box, I screwed in a 200mm x 42mm x 18mm pine batten onto each side, which would allow me to secure the top by screwing it down into the batten. With that done and lid secured, the construction of the box was, for the most part, complete.

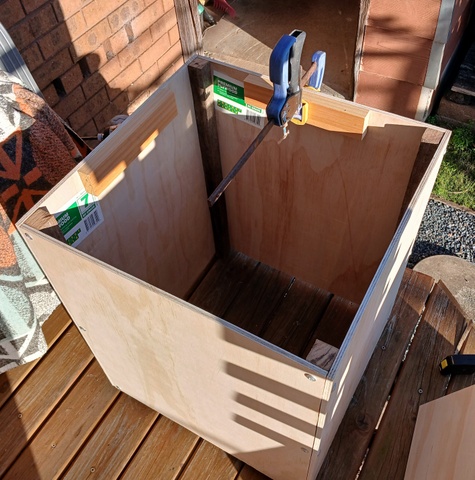
Screwing the battens into place
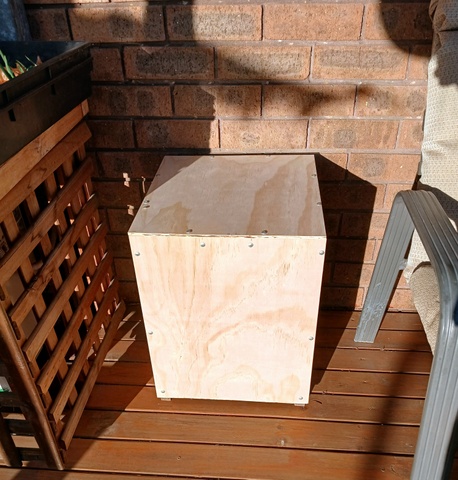
Box complete
It was my intention to then paint it up and put a decorative sticker on it. However, a couple of friends of mine came over. I was showing Jose the box and describing its use, when he suggested that I put some ceramic tiles on the top of the box. I explained that due to the insultation in the rocket stove, the bottom would not get hot enough to cause a problem, but he said that was not his thinking. He explained that the heavy rocket stove being moved around on top would wear through the paint quite rapidly, and after a bit of thought I agreed with him!
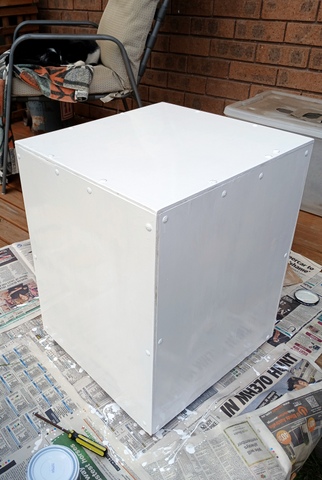
Paintwork complete
We had a bit of a rat around through the shed to see what tiles I had. I found some blue tiles, extras to the ones we used for the floor of the bathroom. I grabbed one and tried it on the top and it looked great, so I thanked him for his input. A bit later I grabbed three more tiles to see how they fit, and the fit was perfect!
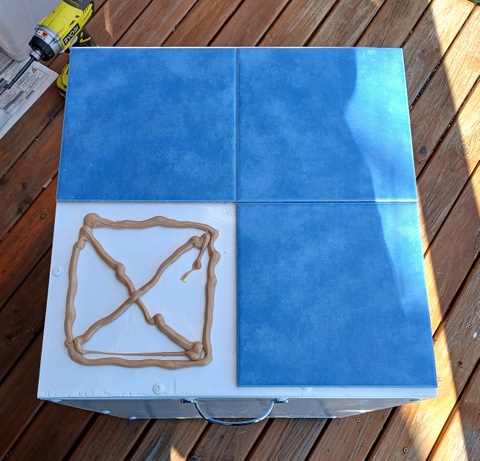
Gluing the tiles into place
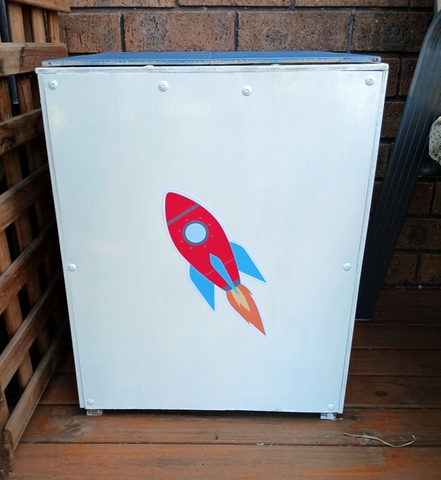
A bit later, in conversation with Lisa, it turned out that she was starting up a new business, manufacturing stickers, so I described the sort of sticker I was after (a rocket, of course!), she did up four designs and I picked the one I wanted. A week or so later and they delivered the sticker ready for application.
While I was waiting for the sticker I got hold of some outdoor gloss white paint for the outside of the box, and a couple of shiny chrome handles. After three coats of paint the box was looking pretty good and ready for installation of the handles. That was simply a case of using the screws provided into the sides of the box, high enough up that they went into the pine battens I installed to hold the the top of the box in place.
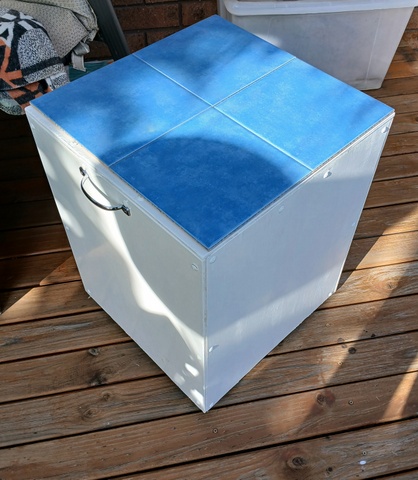
Handles and tiles in place, job done! (almost)
It was now time to apply the tiles. I had bought some ‘Liquid Nails’ and applied it liberally to the top of the box, affixing each tile separately. The adhesive took a while to set, which gave me the opportunity to make small changes to the position of the tiles, so they lined up well.
After the tiles had set, I was able to apply the sticker to the front of the box, giving it a finished look. The rocket stove box was now complete and ready for use.
Using the Box
The box itself is not heavy and with the handles on the side near the top, it was very easy to move around. The rocket stove also has handles on the side but is insulated using wood ash from the combustion stove, which is low cost, but heavy.
My original thought was to set the rocket stove under the box, next to the wall of the house, but the downside of that became immediately obvious when I moved the box in from of the rocket and then had to lean over the box to be able to grab and lift the stove up onto the top of the box. First time I tried that my back explained to me, in painfully clear language, why it was a bad idea.
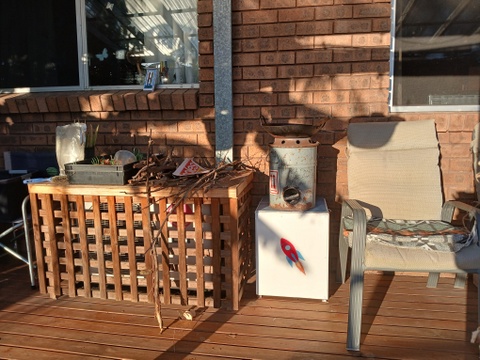
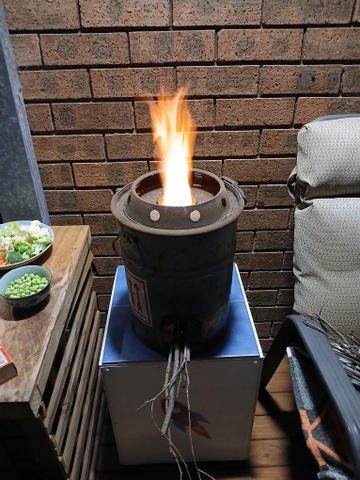
Stove in place and ready!
Everything in place and ready to cook, I just need fire!
The answer turned out to be just to move the box/stove assembly forward about half a metre out from the wall. That way I could pick the box up and place it behind the stove and still get good access to be able to lift up the stove without compromising the integrity of my back. Also, moving the box forward made it easier to access form the chairs and use it as a table to put drinks or whatever on.
So how does it work? Quite well thank you!
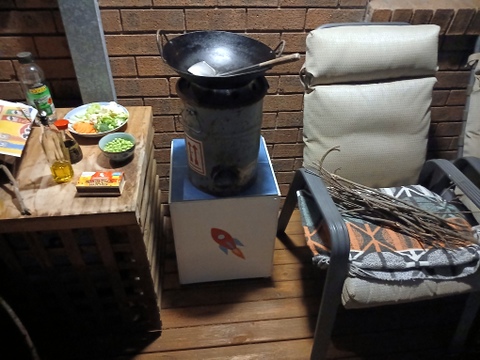
The Saturday night after I finished the box, I decided it was time to try things out. I set up the rocket stove on top of the box and used the top of the aircon cover next to it to hold all the ingredients for the stir fry. I had previously gathered some sticks to burn and a bit of paper to start it off.
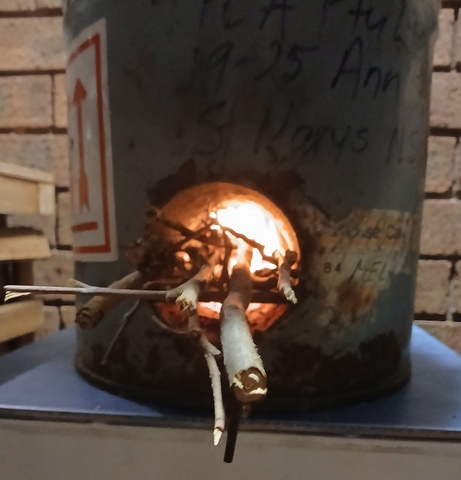
Speaking of fire!
It was dark when I went out to cook, but I had forgotten that I set up a light over that area that was still part of the old 12volt system. I was thinking to use my head torch but the light under the eaves was more than enough to cook by. After pushing the paper down into the top of the rocket stove and then placing some twigs in the front, a bit of metho and a match and we were underway.
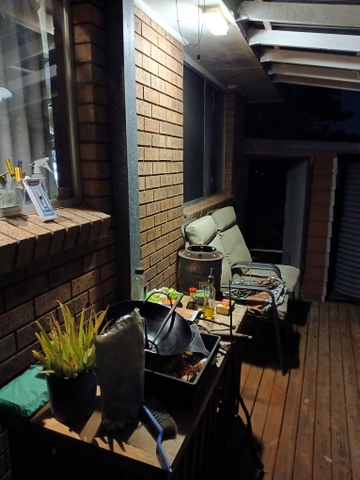
The 12 volt light under the eaves worked very well!
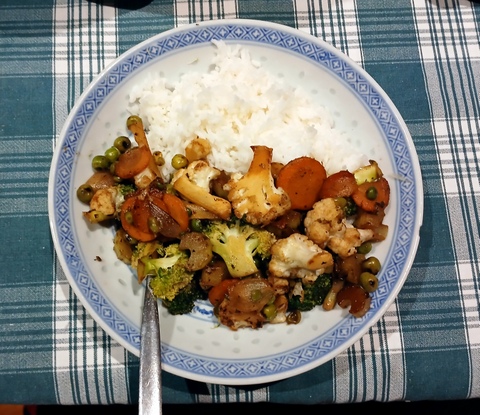
It didn’t take too long to cook up the veggies, but it was pretty cold and windy so I did use a glass saucepan lid to keep the heat in part of the time. The meal tasted great, and I don’t know if you have heard the term ‘wok hei’ but the stir fry cooked on the rockets stove certainly had it. Yum yum!

All up I was pretty happy with the way it all came together and I look forward to using it many times in the future!
Links
Making the rocket stove
Article - On Convenience
Lisa the sticker wizard’s Insta
