The Idea
I suppose the first question you are likely to ask is “What on earth is a ‘FemtoFarm?”
It is a term I came up with to describe a small, food producing unit that could be implemented anywhere, including indoors in flats, units or townhouses. I guess the ‘Farm’ bit is pretty obvious, but the prefix ‘femto’ is used to denote a factor of 10-15, so for example a femtometre is 0.000000000000001 of a metre. In other words, pretty freaking small, plus it rhymes with farm, so it works for me!!
My idea is that the farm would have three components plus the infrastructure which supports those components. The components are:
- A snail farm, for edible snails,
- A cricket farm, ditto, and
- A set up to grow veg under grow lights.
But more on those later.
The infrastructure
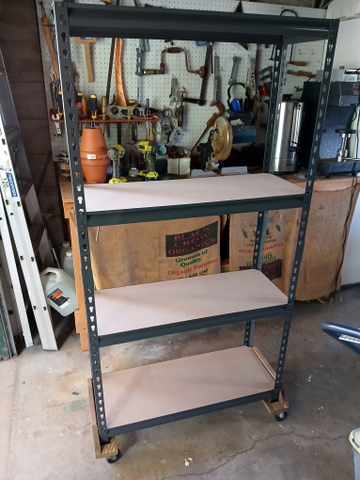
To mount these separate growing areas, I needed a set of shelving but it had to be moveable. Ideally, I would mount it against a wall in the garage, but all the wall space is currently taken up with tools, benches, alternative energy set ups and other things that need to stay where they are. To get around this obvious conundrum, I would have to modify whatever shelving I got so that I could move it around to wherever I needed it to be.
But first I needed the shelving!
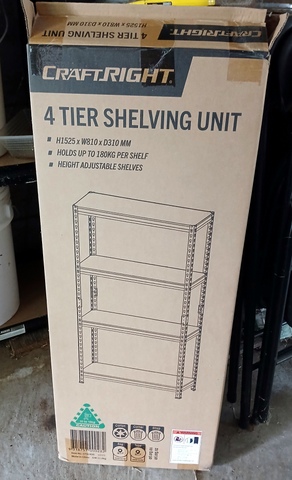
I picked up a 4 tier shelving unit from the big green hardware for a bit over $40 which seemed like a good price to me. It is 1520mm high, 810mm wide and 310mm deep and according to the documentation will support up to 180kg per shelf. Also, the shelves are adjustable so I can set them up to the height that suits each component of the farm.
With the shelving bought and put together, I needed to make it mobile.
To do that I needed to fit some casters, which I had hanging around. After some research it seems that there are a number of ratios between heigh and width where the wheels are located to be stable. Initial work suggested that a ratio of 4:1 would work and seeing as the shelving was 1520mm high, I rounded that out to a width of 400mm. Later research suggested longer supports but I had already gone with the 400mm ones and they have been working fine.
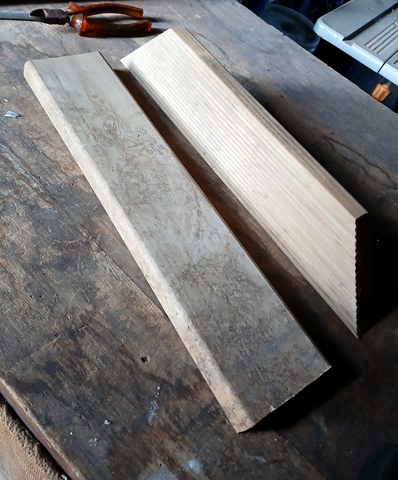
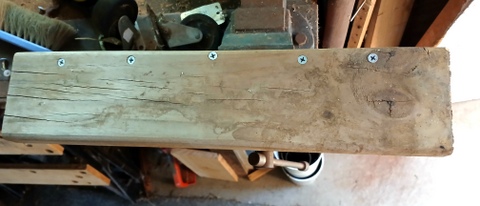
To achieve this I cut some 90mm wide x 25mm thick timber I had left over from building the back deck to 400mm long, the timber on the bottom staying at it was, the timbers going up the side of the shelving had each end cut back on an angle of about 45° to reduce likelihood of tripping me up (clumsy thing that I am!). I screwed both timbers together using 40mm timber screws (predrilled) and then secured the casters with 16mm screws, also predrilled. To secure the completed caster assembly to the bottom of the shelving unit I used three more of the 16mm screws, predrilled.
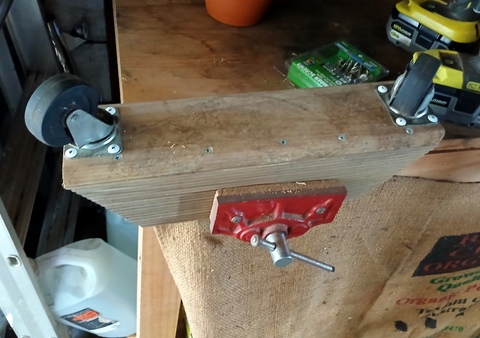
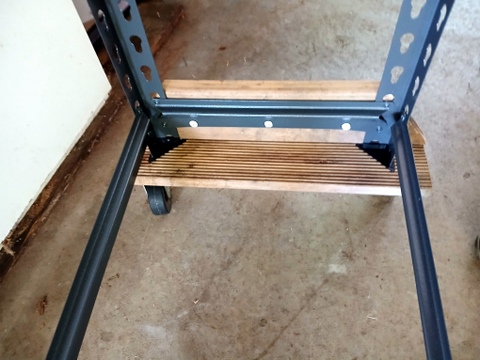
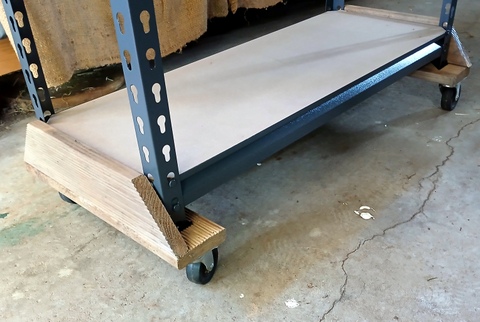
The other thing I needed to set up was access to 240v power so that I could provide heating of some description for the crickets when the weather gets cold and power to the grow lights. The grow lights use a USB plug to connect to a power supply, so I connected a four point powerboard to the top part of the shelving, and then connected a USB outlet into the top socket of the powerboard.
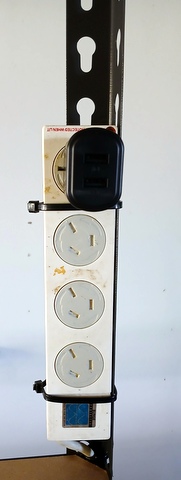
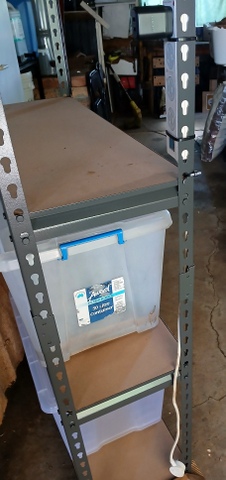
So far, the unit is working very well and seems quite stable.
To support this stability, the heaviest part (the snail set up) will be on the bottom, the next heaviest part (the cricket set up) will be in the middle and the plants grown under lights will be on the highest shelf. At this point I have no plans to have anything on the very top of the shelving unit, but who knows?