

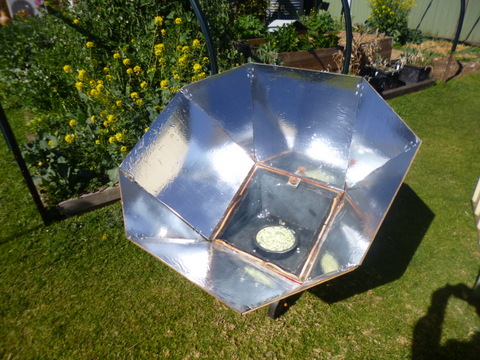
The solar oven after the previous refurb in 2015
Just recently I have been reading ‘Degrowth in the Suburbs’ by Samuel Alexander and Brendan Gleeson, and while discussing suburban practices of energy descent they note: “Using the sun more directly through solar ovens is another practice highlighting the elegance of simplicity.” This caused me some guilt, because my solar oven was sitting in the garage in bits, awaiting refurbishment, but it also got me off my backside and moving on the solar oven after it sat around for a year or more.
I originally built the oven back in the mid ‘90s and then refurbished it in 2015, when Costa was coming to do a program on our place. In the end it wasn’t used in that program, but it needed to be looked at anyway. At that stage the main problem was the reflectors, which were built out of thin MDF and were not in good nick. I replaced them with new ones made from 6mm three ply plywood and coated with metallised gift wrap as the reflective surface. When I finished everything looked great, but over the years since, the metal coating on the gift wrap has flaked off, in some places entirely, causing the reflective surfaces to be not so reflective, which kinda works against the whole using the sun to cook thing.
It was time for another go!
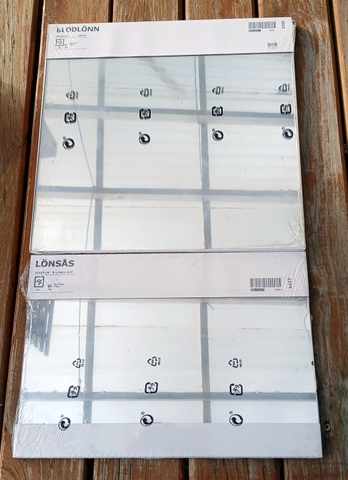
Ikea mirror tiles
The Reflectors
The oven has two shapes of reflectors, the large square ones and the triangular shaped ones that go in the corners. I am tired of the main reflectors degrading over time, so on this occasion I wanted to use mirrors for their reflectivity and long life rather than some of the other options. Mirrors do have downsides, they are heavy, fragile and can be expensive, but I was able to get around some of the disadvantages by buying mirror tiles of two sizes from Ikea. Specifically, ‘Blodlonn’ (300mm x 300mm) and ‘Lonsas’ (300mm x 210mm), which are lighter than sheet mirrors and not too expensive with $36 covering the cost of all the mirror tiles I would need, and no glass cutting required!
Before
The reflectors themselves are connected to each other by hinges so that there is a bit of flexibility in the system, and they are bolted on to sheet metal brackets that attach them to the body of the oven. Originally I used what I had and that was cup headed bolts. This was fine when using the foil as the reflecting material but the mirrors were a lot less flexible, so the first job before putting things back together was to replace the cup headed bolts with countersunk bolts. This required removing all the bolts from the square reflectors, using my countersink bit on the original holes, then putting in the countersunk bolts. This meant the reflectors were flat, rather than mostly flat, but with bumps.
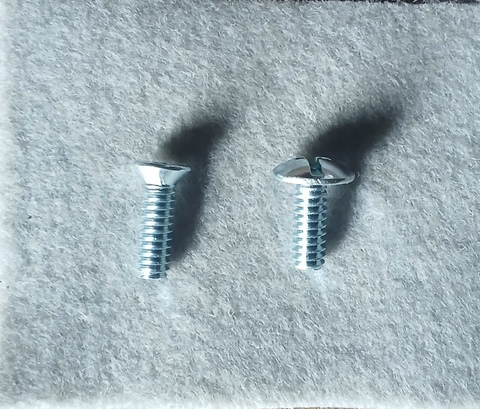
Countersunk vs cup head
There as also a bit of warping in the plywood, which I was able to reduce, but not eliminate, by stacking some concrete blocks on the panels to sort them out.
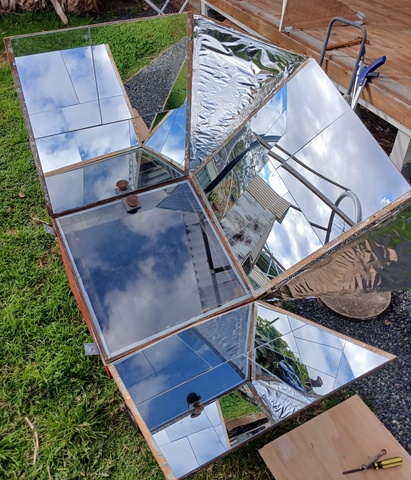
With all that done I could apply the mirror tiles. As luck would have it, putting Blodlonn next to a Lonsas and then below that a Lonsas next to a Blodlonn, did a fairly good job of covering the large square reflectors. The attachment was simple: set them out on the panel, remove them, one at a time, applied double sided tape and then affixed them back onto the panel. Took a while, but worked well.
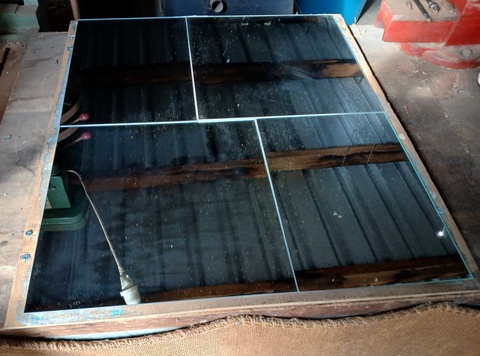
After
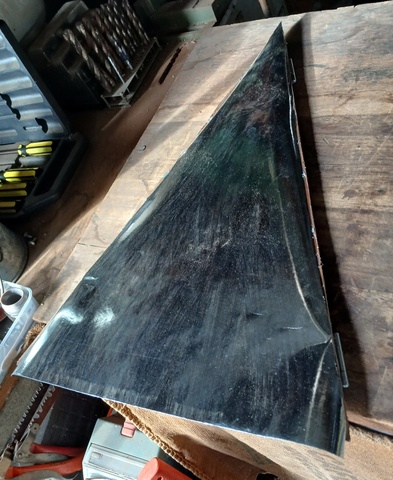
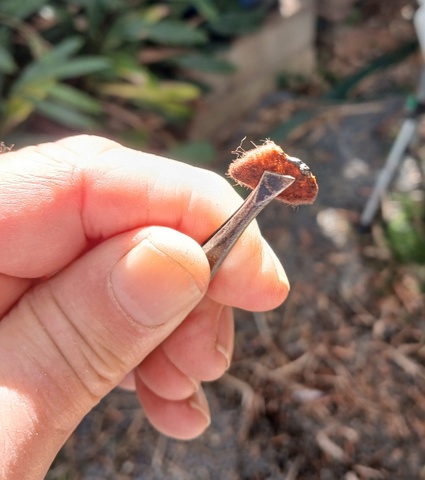
The triangular shaped corner pieces were a bit trickier. I had bought some paper backed reflective film for the purpose, so I rolled the film out face down, placed a corner piece on it a traced around it. I then cut the piece out with scissors, applied some PVA glue to the corner piece, and then placed the cut reflective foil on the corner piece. Once all four were done I left the glue to dry. Not perfect but it would work.
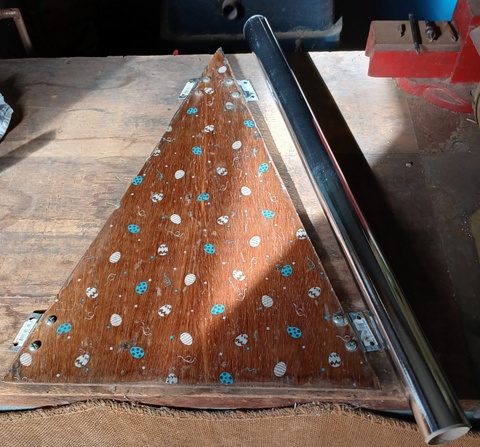
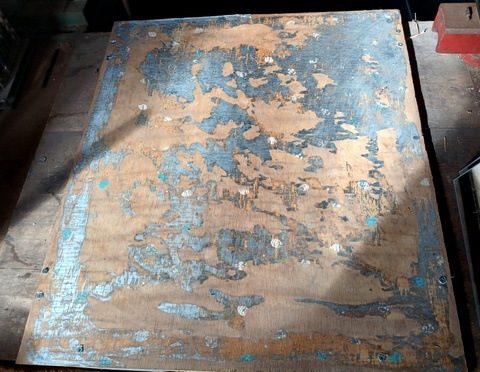
Corner piece before
Foil in place awaiting gluing
The Oven
The main cooking space, the oven part of the solar oven, was in pretty good nick with two glaring exceptions:
- The seal around the glass front of the oven, composed of felt, was not looking so good and had not been addressed in the last refurb, and
- The matt black surface on the baseplate of the oven, which had been the recipient of a number of overflows while things were being cooked. A fair amount of the matt black coating had come off and there was some corrosion as well.
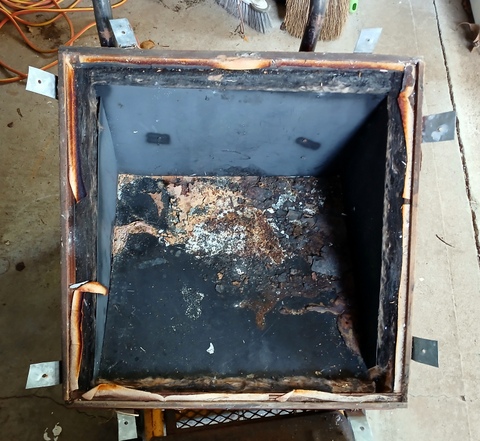
The original condition of the oven
I approached Linda to see if she had any felt hanging around (It was No-Buy July after all!) and she did have some small sheets in various colours. This was a good thing, but I know she had bought them from the El Cheapo shop and may be synthetic, I didn't think synthetic felt would work well as an oven seal!
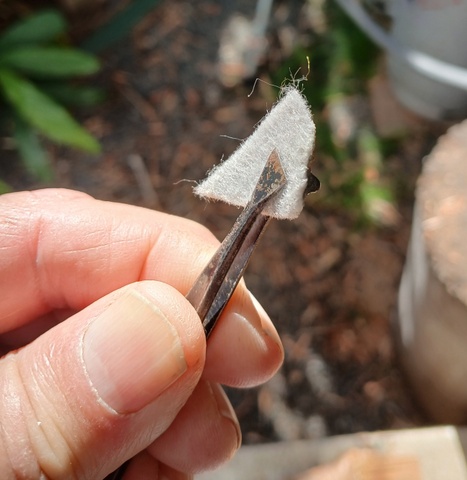
New 'felt'
Original 'felt'
So devised a test - I cut off a small corner sample of each sheet and then applied a flame to one edge. Sure enough they all burned and melted down like the acrylic felt that they were, rather than being genuine wool felt.
I was disappointed but then thought I should try the same test on a sample of the original felt from the solar oven. Whadda ya know! It did exactly the same thing as the other felt samples. So it seems that the felt that I have will do the trick, and I don't have to buy any new stuff!
I didn’t see that coming, but it was handy!
I was ready to use the felt but I had forgotten how I secured the felt when I originally built the oven.
It turns out that I used the surround that supported the glass front to hold the felt in place. I had cut the felt to the width of the external plywood casing of the oven, placed on the edge of the casing and then nailed the surround on using panel pins.
To sort things out I removed the surround, pulled out the panel pins, cut the felt to size (one A4 sheet was more than enough) placed the felt back on the case and re nailed the surround using new panel pins that have probably had since I built the oven originally!

Felt replaced and bottom of the oven removed for reconditioning
To sort out the oven baseplate I removed it, it was just sitting there and not nailed down so was easy to remove. I sanded it over and then gave it a wash with mineral turps to remove any dust and other loose stuff. While I had gone looking for matt black spray engine enamel, there was none in stock where I checked but they did have a spray can of high temperature (540°C) matt black paint, that would do the trick.

Baseplate sanded and repainted
The Assembly
As usual, it did not go back together the way I expected and just because everything fitted together originally before I pulled it apart, there was no guarantee it would all still fit the way it should when I put it back together.
During assembly
A side effect of changing the hardware seems to be that the bolts had shifted slightly during the process and the hinges that held the reflectors together no longer fitted over the bolts I had put in place. Not by much, but enough so that they no longer fitted.
I did not realise this until part way through the reassembly. Anyway, I was able to get around it by drilling the holes in the hinges up a couple sizes. This was just enough to be able to fit everything together and bolt it all up.
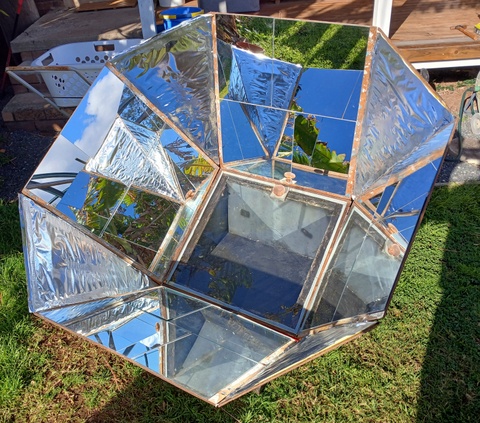
We're back in business!
It took a little while to re-affix all the bolts and the mirrors did make the reflecting panels heavier and somewhat more difficult to work with, but I was able to get it all back together in a couple of hours.
The Test
It was early August here when I did the test, and it has been a wet winter generally, but the next day after I completed the re-assembly we got some sun. I was able to set the oven up and test it out. It was a nice sunny day, and the oven went out about 10:00am. The felt seems to be doing just fine and there were no problems with it. If I remember correctly in winter we used to get the oven to a temperature of about 160°C and by lunch time today the oven was running at 170°C.
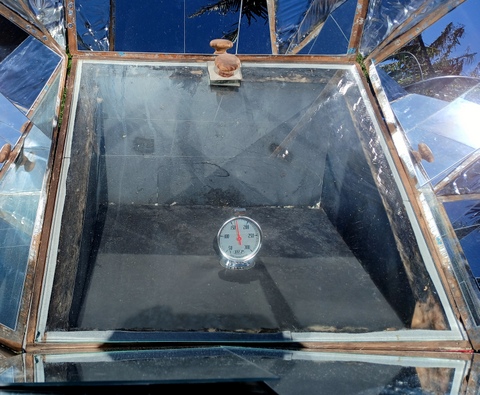
The oven is working well, and I am happy!
Links
