The story of how I grow and spin my own cotton is still continuing, this year’s crop looks like it will be a big one (relatively – how much can you expect from three or four plants?). I still spin the cotton direct from the boll and have not gotten around to building a cotton gin based on Ely Whitney’s model, but I have found that spinning from the boll still inevitably leaves some cotton adhering to the seeds. I don’t want to waste any of my home grown organic cotton, so I just stored them away to await further processing.
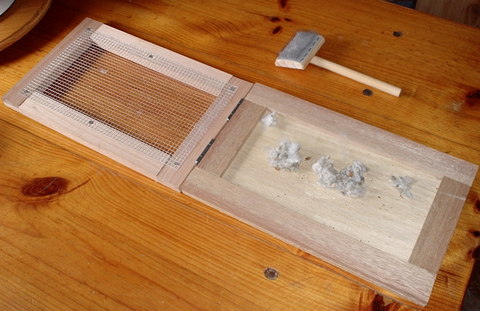
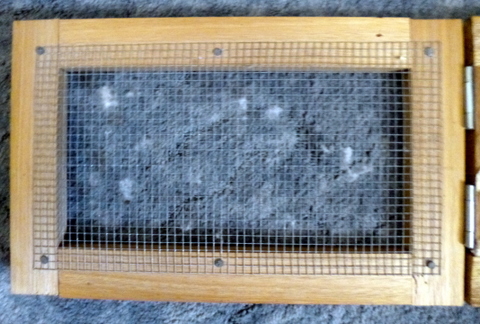
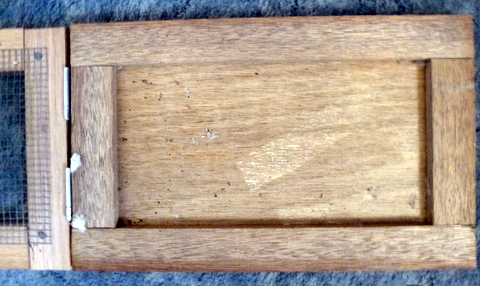
On one of my expeditions on the net, I came across a photo of a cheap and easily constructed cotton gin of a novel design – there was only this one photo from one angle, with very little detail, so I had to work out the construction details myself. The gin is based on a wire mesh tacked to a frame with a backing board, then a “flicker” is used to draw the cotton though the mesh, leaving the seeds on the other side.
One bit of detail in the source was that the wire mesh was ¼” squares (about 6mm). I found this a bit of fun to get hold of. The local Bunnings had a roll a metre wide by about 30 metres long for well over $100, this was a tad more than I intended to spend so after I got up off the floor I continued searching. A hardware local to where I work had some gutter mesh which was 190mm wide and a few metres long – enough to make 20 of the things – anyway an investment of $11.00 or so didn’t seem to much to pay.
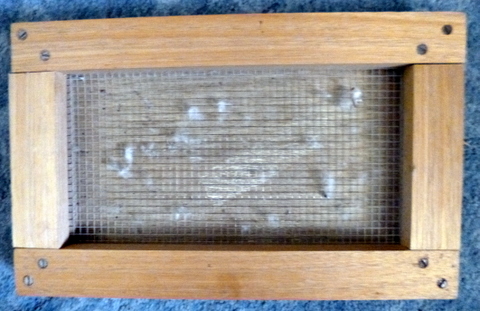
To make the top frame I used 19mm x 42mm DAR maple ( a bit more expensive than pine but less prone to twist), the width of the wire mesh set the limit of the width of the gin to 237mm (to the outside edge of frame) and for no good reason I set the length at 380mm. Having cut the timber to length I then used by small band saw (you could use a hand tenon saw just a s well) to cut a half lap joint at each corner. The corners were secured by two 15mm wood screws, holes pre drilled and countersunk. I then just put a tack in each corner and one in the middle of the long side to secure the mesh to the frame, this size frame allowed for 2-3 meshes overlap for securing the mesh. Note – make sure the long wires on the mesh face the top, so you can pull the flicker along the long axis of the gin.
To make the base I placed the top frame over some 9mm thick 5 ply, drew around it and then cut it out with a hand saw. After a bit of a trial I found that there needed to be some clearance between the mesh and the back so I screwed some 10mm (anywhere between 6 & 10mm would probably be OK) off cuts the same width as the top frame to the back board, applied two hinges and voila! A cotton gin!
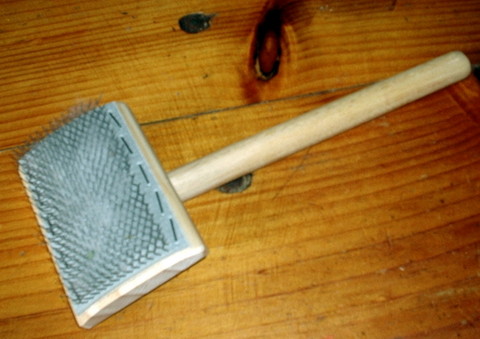
I had to buy a flicker from Virginia Farm Woolworks which cost me less than $12, to pull the cotton through. If you made the gin wider you might be able to use a wool card if you already had one, but that pre supposes you could get wider mesh.
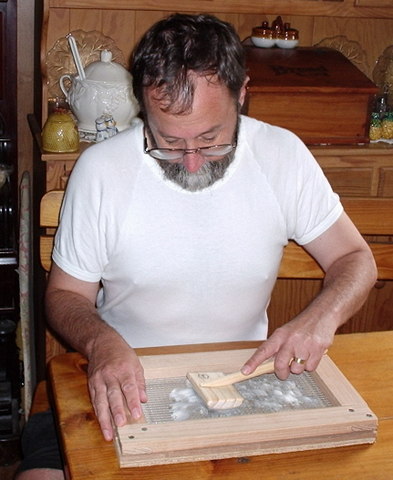
And the thing actually works! You pull the flicker first one way then the other across the top of the gin and, hey presto! The fibres are pulled through, getting caught by the wires of the flicker and the seeds (most of ‘em anyway) stay on the other side.


