

The original ‘Bag-pipe’ worked well, if I do say so myself, but had a couple of downsides –
- Once filled, I needed a cross pein hammer to get the end off so that I could get the full bag out, and
- I wanted a way to hold the inner bag firm so that I didn’t have to hold it while I was doing the stuffing!
Screw-on End Cap
After considerable thought I decided that I could (at a bit of extra cost) add a screw on cap to the bottom of the bag pipe which would facilitate removal of the full bag. This would entail me purchasing a 100mm diameter threaded insert and cap (cost at around $20). My original idea was that there would be something available that fitted over the 100mm outer pipe which could then be fixed in place and allow the end to be screwed off and on. Unfortunately, the threaded insert was also 100mm in diameter, meaning that it sat on the end of the pipe rather than fitting over it, so it needed to be secured by an extra piece, a PVC 100mm slip covering (cost $14).
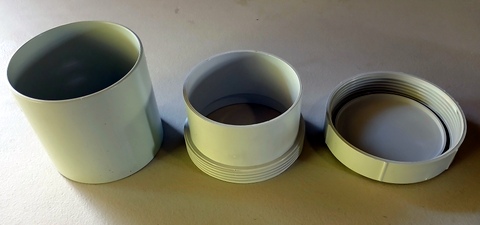
Slip cover, threaded insert and screw on cap
all three assembled
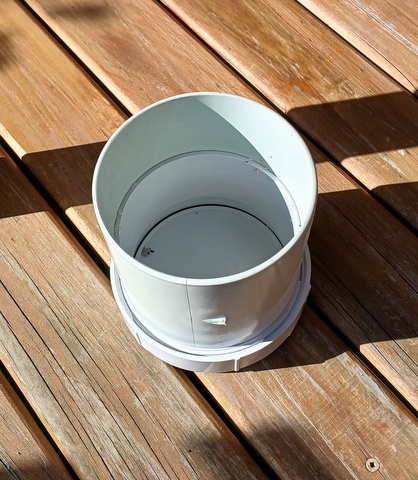
Due to the threaded insert being 70mm long, it meant that to maintain the original length of 340mm for the whole shebang, the 100mm diameter outer tube would need to be shortened by 70mm to 270mm long. This was not a big issue as I was making the Mark II from scratch rather than modifying the original. When I put it all together it looked pretty impressive, and I figured it would work well.
With the rest of the pipe inserted
Holding the Bag
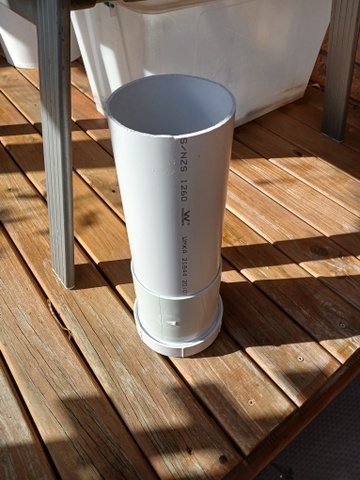
The extra fitting to secure the inner bag was an easy fix. I just cut a 25mm to 30mm band (length is not critical) from a spare piece of 100mm pipe and then cut one side through using my small band saw to make a holding clip. With the inner plastic bag in place, it was a simple matter to slide the holding clip over the end of the bag-pipe, thus securing the end of the bag. (To be fair, I could have done this for the original too, but didn’t think of it at the time!)
With the clip in place
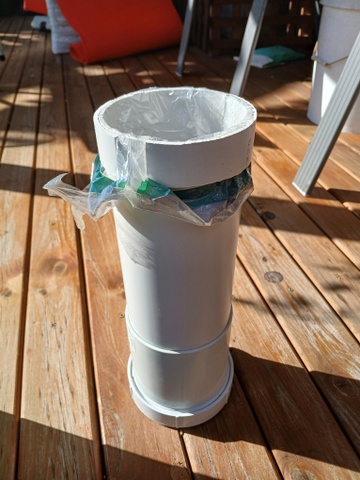
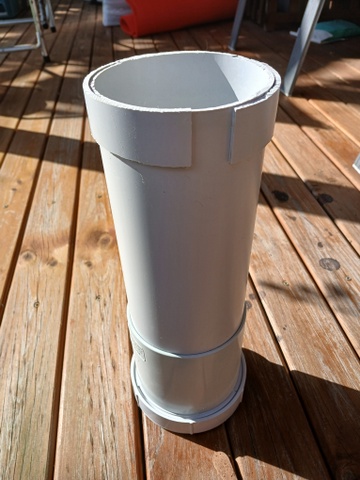
Securing the bag
The inner tube that is used to push inside the outer tube/plastic bag set up to compress the soft plastic waste did not need to be modified in any way.
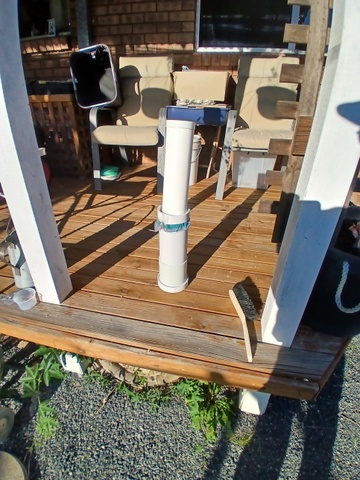
Operating the Bag-pipe
To operate it used a similar process to the original –
Place the 100mm pipe on a hard surface, with the screw-on cap at the bottom.
Put a bread bag into the 100mm pipe and press it down using the 90mm pipe so that it reaches the bottom of the 100mm pipe and there is 20mm to 30mm overlap of the bread bag (or whatever bag you wish to use) liner at the top. Then place the 25mm – 30mm holding clip on to secure the top of the bag so the soft plastic items can then be compressed into the 100mm pipe.
It is then just a case of placing the items into the bread bag/100mm pipe and pressing down with the 90mm pipe to compact them. Repeat until the soft plastics are about 20mm down from the top of the pipe then remove the holding clip and tie off the end of the bag to secure the contents.
To get the bread bag filled with soft plastics out of the 100mm pipe, unscrew the bottom cap, place the 90mm inner tube into the 100mm pipe, turn the bag-pipe upside down and push down, using the 90mm inner pipe to push the bread bag up out of the cap end of the 100mm pipe.
Job done!
While both bag-pipe designs will work, I found the Mark II to be easier to use. Whether it is worth the extra cost is up to you.
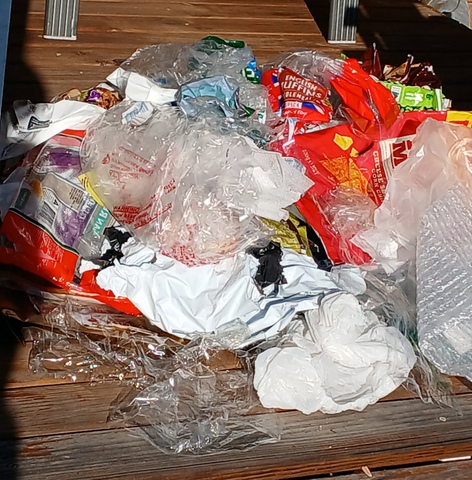
Before compacting
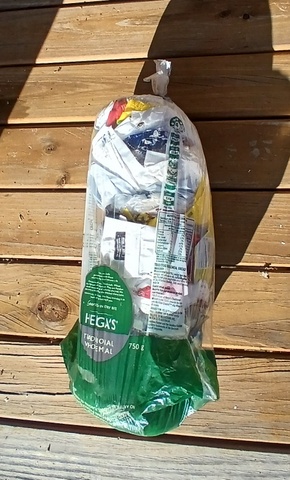
After compacting
