Low Cost, Low Tech Irrigation - Part 6: Leaky Pipe
Created: 2017-01-15 14:00:00
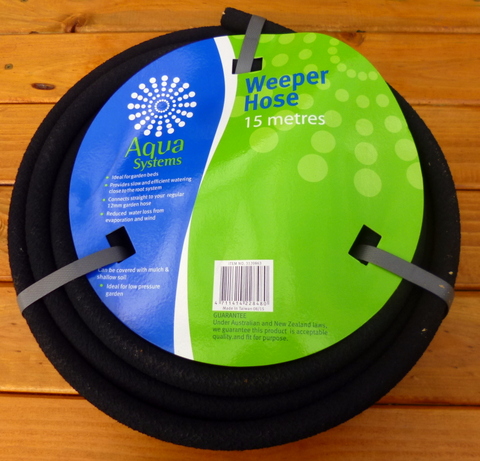
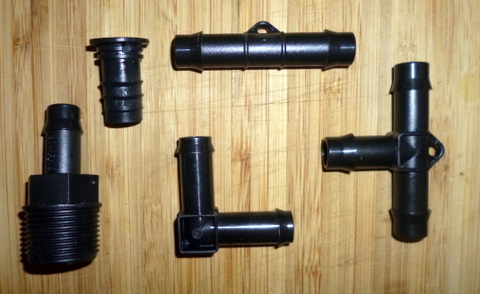
The leaky hose is not a new innovation, they have been around for a long time. In fact I remember my father pressing them into service in the garden when I was a kid. They are made from recycled rubber and usually come in two diameters – 6mm for use in containers and 12mm for use in the greater garden. The 12mm variety can be used with standard 12mm garden hose and 13mm irrigation hoses and fittings such as tee pieces, end plugs and joiners.
The idea is to bury the leaky hose near or even under the plants you wish to irrigate, and then turn on the pressure and let the water seep out over a 20 – 30 minute period to provide water to soak the area.
There are several things which need to be taken into account when designing a system using buried pipe –
- The water source needs to be under pressure (usually mains or through a pump) to make sure water leaks out at the desired rate, gravity flow from tanks is not enough.
- Short runs of leaky hose off an impervious supply pipe (eg 13mm irrigation pipe) will work better than long runs of leaky hose. This is due to the fact that over a long run, most water will be delivered closest to the supply point and the pressure will drop the further away you get from the supply point. This reduces the amount of water leaking out and hence the amount of water delivered at a distance. A good rule of thumb is that runs over 4 metres in length should be avoided.
- Again, due to the pressure regulating how much water leaks out, if the hose in not level you will get more pressure and that is to say more leakage from downhill runs. On an uneven site, following the contour will help.
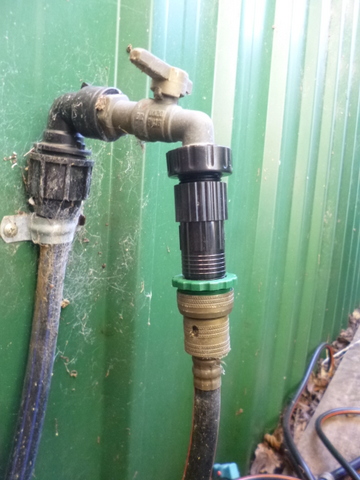
- Leaky pipes, by virtue of their construction have a tendency to be a bit fragile and can be split by turning on the tap too quickly. When pressurising the leaky hose it needs to be done slowly to avoid shocking the system. Even better, introduce a 100kPa pressure reducer between the water supply and the leaky hose, usually screwed onto the tap before attaching the supply hose.
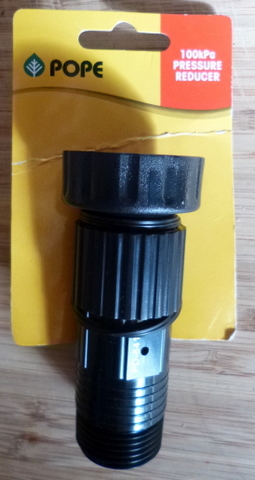
- Standard garden hose and non-leaky standard 13mm irrigation pipe can be used to supply water to the leaky hose and to connect between the runs of leaky hose.
- If the water supply is contaminated or hard with minerals, the runs of leaky hose should be cleaned out every year or two. This is done by removing the end caps and running water through the system to remove any materials blocking the holes in the leaky hose.
I used leaky hose to add irrigation to our herb spiral (AKA the herb wedding cake) and will be used to irrigate the surface plants in the fruit tree circle (deep pipe irrigation has already been installed for the trees).
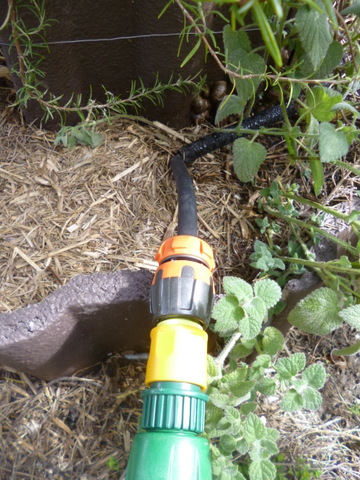
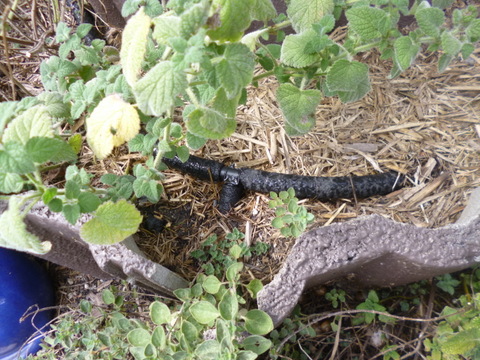
To install the leaky pipe I made up a circle of it about the same diameter as the bottom tier of the (3 tier) herb wedding cake and used a 13mm tee piece to join the two open ends. I installed it in a wavy fashion, sneaking it in and around the existing plants and for the most part burying it 25 – 50mm into the dirt. One problem was burying one side of the tube could put pressure on a bit I had already buried causing it to pop up above the ground again. I’m sure the neighbours would have given me the Academy award for colourful language that day. I was able to solve the problem by getting hold of some u-shaped wire staple things and using then to hold the pipe down by pushing the firmly into the ground, then covering the tube with soil.
I then made and installed the second, smaller pipe circle in the second tier from the ground, so that the free end of the tee piece pointed down towards the free end of the tee piece in the bottom tier, which was pointing up. I then used a short length of 13mm irrigation tubing (ie not leaky) to join the two circles. All well and good, I hear you say……but how do you get water into the leaky pipe? Funny you should mention that!
On the other side of the top circle of leaky pipe, ie 180° from where the two circles are joined, I cut the top pipe in half and inserted another tee piece. I place some 13mm irrigation pipe on the free end of the tee and then put a standard hose coupling on the end of the irrigation pipe. It is set up so that it points at the tank in the front yard and I can connect a hose up to it from the tank, through a pump and a pressure reducer to the coupling. That way I can use the pump to irrigate the herb wedding cake with tank water.
The fruit tree circle will have a similar system, but with only one circle.
