Freezing Corn on the Cob
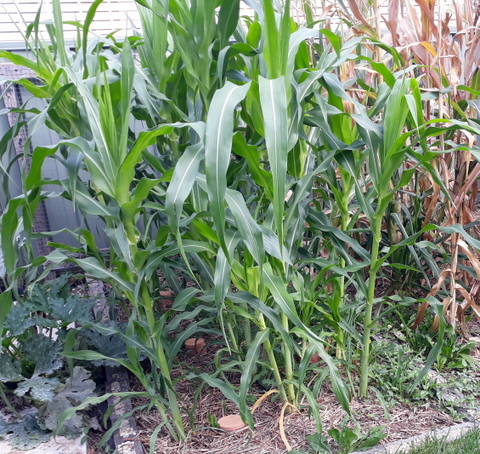
While our system is based around a steady flow of fruit and veg rather than large gluts, there are some crops that doesn’t work for, and corn is one of them. Corn needs to be grown in a block to ensure that cobs are pollinated and you are not stuck with four or five kernels per cob. In previous years this has meant eating lots of corn when a crop comes due and then leaving some to dry out and provide seed for the next year, we grow open pollinated so we can plant our own seed from year to year.
Well, as I mentioned elsewhere, I can be a bit slow. It finally occurred to me this year that, rather than missing some cobs, why not process and freeze them, to enjoy later in the year. According to those that know, frozen corn on the cob will last 9 to 12 months in the freezer. I did some initial research on the net and in a couple of my books, and this is what I found –
- One of the most important criteria for good quality frozen corn, is as short a time as possible between harvesting and processing.
- While it is possible to freeze corn on the cob without blanching, it was almost universally accepted that blanching your corn before freezing results in a product with a better flavour and texture than if it was not blanched
- Recommendations for blanching times varied widely from 3 to 4 minutes up to 11 minutes. With some systems it was a single figure but others changed depending on cob diameter.
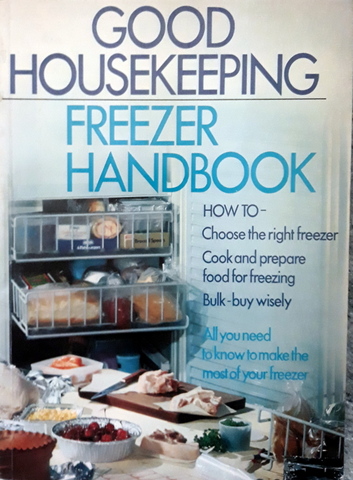
- The “Good Housekeeping Freezer Handbook” recommended blanching times of 4 minutes for small cobs, 6 minutes for medium and 8 minutes for large, but gave no indication of what the sizes meant. The US National Centre for Home Food Preservation has a similar system – 7min (small) 9 min (medium) 11min (large) but goes on to provide diameters for each size - 1.25” or less (small); 1.25” – 1.50” (medium) and 1.50”+ (large).
- Regardless of the blanching time, it is important to stop the cooking of the corn once the time had elapsed by removing the cobs from the boiling water and placing them into an iced water bath to cool. They generally recommend ‘a few minutes’ for the corn to cool after blanching.
- Packaging after processing also has a number of options, the most common one seems to be to wrap the corn in plastic wrap, place it in a plastic bag or place unwrapped corn directly in the plastic bag and then freeze. The previously mentioned Good Housekeeping Freezer Handbook recommends wrapping in aluminium foil or ‘freezer paper’ (whatever that is!).
Based on the above research, this is what I actually did.
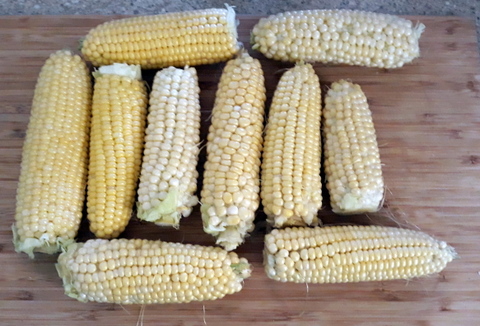
1. I inspected the corn, and the ripe stuff (milky fluid comes out when a kernel is pierced) I then harvested, but if I had thought about it I would have set everything up first, then harvested ready for processing. In the end it was about 6 hours between harvest and freezer.
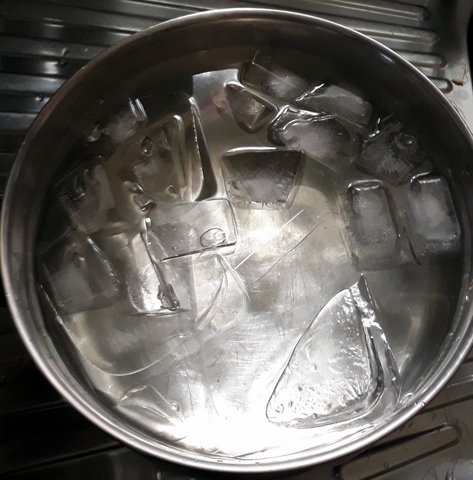
2. The first thing I did after harvest was to fill ice cube trays and other containers with water and placed them in the freezer. Then I waited!
3. Once the ice was more or less frozen I filled one of our larger pots and put it on to boil and removed the husks and silk from the harvested corn (10 cobs)
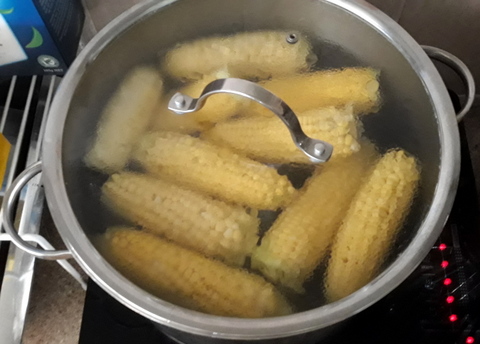
4. With the water on the boil, I carefully placed all the cobs in the boiling water and once it started to bubble a bit, set the timer going for 6 minutes. While I was waiting I filled another pot with cold water and dumped most of the ice into it.
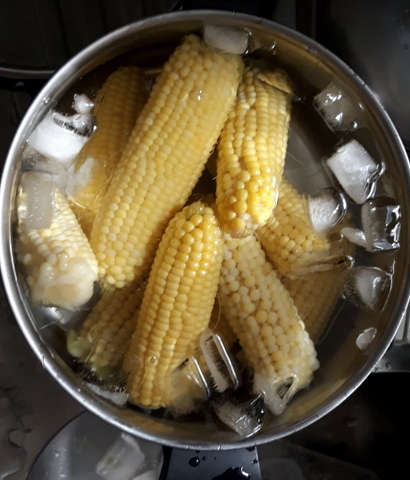
5. When the timer went off I transferred the corn cobs to the ice water, agitating them to make sure the cold water hit all surfaces of the corn, and left them to cool for 8 to 10 minutes.
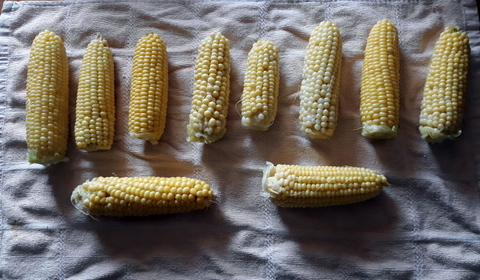
6. I took them out one at a time and dried them off with a tea towel, and placed them on another tea towel. By this stage they had warmed up a bit so could probably have stayed longer in the ice water.
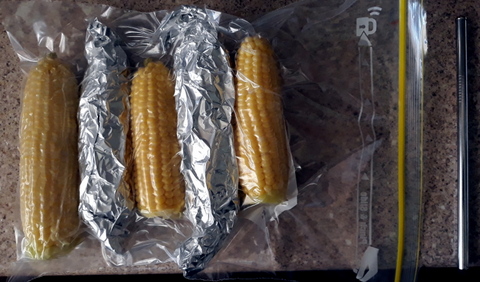
7. My intention was to freeze five cobs in each of two bags. Once dried, I covered two cobs with aluminium foil then placed them with three uncovered cobs, arranged alternately into the plastic bag. I then used a metal straw to suck the air out, slid the straw out quickly and zipped the bag shut. The bag then went into the freezer and I repeated the process for the second bag.
Job done. So how do they taste?
Really, really good! After a months in the freezer I removed and steamed one of the cobs and gave us both half each too to give it a taste test. The flavour was at least as good as if I had just picked the cob from the veggie patch. I had read online that some people complained that freezing the cobs, even after blanching gave them a 'cobby' rather than corn-like taste (whatever that is!). That was not the case with the corn I preserved.
Update
A couple of days ago I prepared another 10 cobs, using pretty much the same process as I listed it above. The only change I made was to use a larger vessel to hold the ice and water to cool the cobs in, and I perhaps used a bit more ice. This did seem to cool the cobs down a bit quicker, and I left the cobs in the icewater for 15 minutes rather than 10 minutes. It did a better job of cooling them down prior to freezing!