I have been wanting to grow mushrooms here at the Choko Tree for years, and I have fooled around with various forms of commercial kits (and one from-scratch foray) without, I’ve gotta say, much success. My focus has been on the usual style of button (agaricus) mushrooms most readily available commercially, but reading has recently lead me to the idea that maybe I could grow white oyster mushrooms. We had never tried them, so Just to be sure, I bought some and we cooked them up and found them to be quite palatable, so why not?

The process which I am using is based up the method set out by Nick Ritar and Kirsten Bradley in their book ‘Milkwood’. The book gives lots of good theory and practical type information on mushroom growing using a number of different techniques and also covers stuff like beekeeping, wild food, seaweed and tomato growing. Before finding this book the stuff I had on mushroom cultivation was from overseas (the US and UK mainly) and while the theory doesn’t change the mechanics and required bits and pieces will vary. Also climatic differences and species available will have an impact on how you grow mushrooms and these will vary depending on location. This is an Aussie book for Aussie conditions and that made lots of things easier.
Terminology
There are some terms in mushroom growing which I shall be using and just to make sure we are clear on what I am rabbiting on about, here are some definitions –
Mycelium/Mycelia: the vegetative part of the mushroom fungus consisting of a mass of branching white threads called hyphae.
Mushroom: the fruiting body of a mushroom fungus which produces spores, allowing the fungus to reproduce.
Spawn: a substance which has been treated with mushroom forming mycelium of a particular type. Spawn is most commonly supplied in the form of grain, hardwood plugs or sawdust but can also be supplied (less commonly) as straw spawn, woodchip spawn or a liquid slurry. In this case I was using grain spawn.
Substrate: the organic material which the mushrooms grow on. May be straw, hardwood logs, hardwood sawdust, paper or other materials. The substrate required will vary with the type of mushrooms grown. In this case I was using a mix of chopped straw and hardwood sawdust as my substrate.
How We Did It!
I have divided the process up into –
- Setting up
- Mixing, pasteurising and inoculating the substrate
- Inducing fruiting and Harvesting
- Second Flush and Lessons Learned
Setting Up
To set up to grow oyster mushrooms using this process you are going to need a few things and some stuff.
Things
- Fruiting containers – in this case food grade buckets with a tight fitting lid, we find the 11 litre style supplied by the big green hardware store works for us.
- A half inch or 10 - 12mm twist drill bit, a quarter inch or 5 – 6mm twist drill bit and a hand drill of some description to drive them.
- A fruiting chamber (read small plastic greenhouse, more detail under ‘Inducing Fruiting).
- Several large containers for use with pasteurising including 20 litre container and a 55 – 60 litre container or two.
- A method of heating 40 litres of water (more details on this in the pasteurising section)
- A thermometer that will read to 80⁰C or greater.
- PPE – Dust mask (P1), safety glasses or goggles and gloves (Eg PVC or nitrile washing up gloves).
Stuff
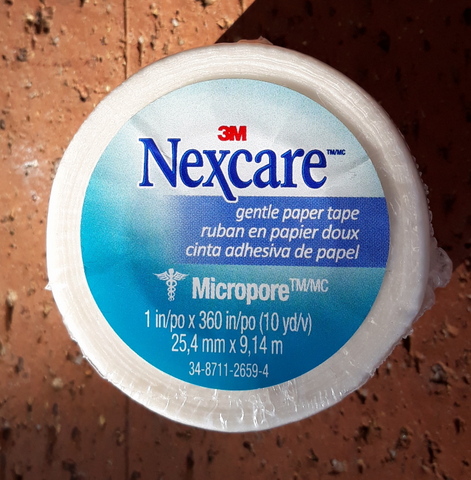
- Micropore tape (try your local chemist)
- Substrate (hardwood sawdust, chopped straw, slaked lime)
- Mushroom spawn of the correct species.
Preparing the Containers
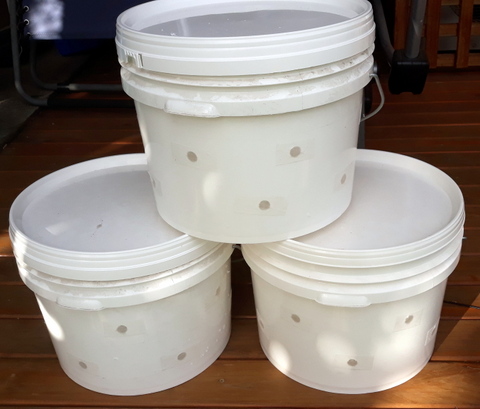
To prepare the fruiting containers (Plastic buckets) used to hold the mix of substrate and spawn that will eventually produce the mushrooms, you need to drill holes in the side. This is to allow gas exchange initially and then later on these will be the holes from which the fruiting bodies (oyster mushrooms) will emerge for harvest.
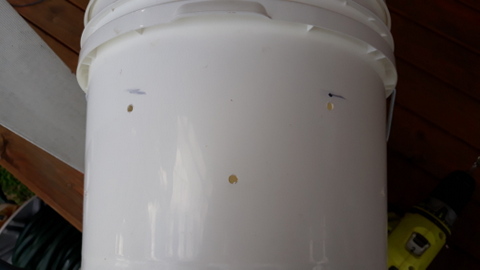
I have found it easiest to drill a 6mm pilot hole first, as this prevents the larger 12mm twist bit wandering around before biting in and drilling the hole. I drilled two lines of 6 holes each 150mm apart in the line with one line 50mm down from top and the other 50mm up from bottom. The two lines of holes were offset from each other by ½ rotation (see photo). I marked them out with a tape measure and marker pen prior to drilling.
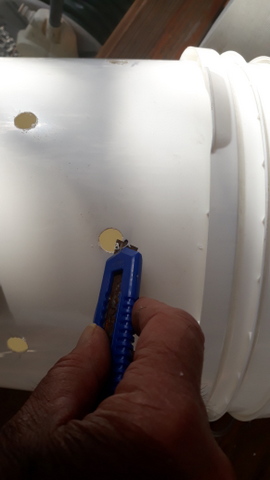
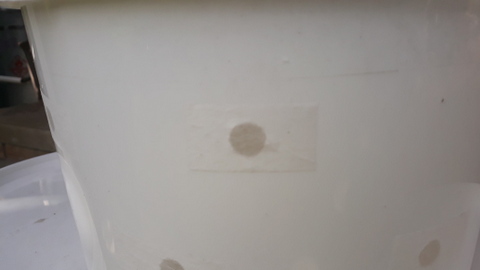
Once the holes are drilled, the idea is to place some of the micropore tape over each of the holes. Due to the tapes construction, it allows gas exchange, but keeps out spores of mushrooms present in the air which would compete with the species we are trying to grow. Thus air can get in and CO2 can get out without compromising the integrity of the inoculated substrate. To ensure the tape fits well it may be necessary to ‘deburr’ the holes with a sharp knife to remove any plastic burrs remaining on the edge of the holes prior to applying the tape.
