Introduction
Having completed the assessment of your front yard, it is now time to draw up a plan. Planning is one of those funny things, it is possible to plan so minutely that you never get anything done and it is also possible to just forge ahead blindly wasting effort and missing opportunities due to total lack of planning. Somewhere in between is a good place to aim for!
Format
The plan which you put together will, obviously, look like your plan. For me, I like a plan that has a vision, general description of stages/activities and maybe a timeline plus plant lists and some form of map or diagram showing what the finished project may look like. The level of detail at each point will depend on what you are comfortable with and how much effort you want to put into the planning process.
Vision
Ideally, some form of vision has been developed prior to the assessment so you have an idea of how the de-lawning project will look when finished. With the assessment completed, it is perhaps a good time to review the vision and ensure that, considering what was discovered during the assessment process, it is still practicable.
Beauty
Seeing as this is the remaking of your front yard we are talking about, it is worth at least considering the beautifying aspect of the remake in your plan. If in the back of your mind you consider how the finished work will look from the street and include some productive plants that are also attractive plants in your plant lists. That may include –
Attractive veggies such as deep purple eggplant, bright capsicum, giant globe artichokes, frilly kale, and/or rainbow chard that are not only productive and tasty but have great visual appeal as well.
- Flowers that provide not only edibility and/or biodiversity but also look good, and at least in this case, the list is almost endless.
- Trees and bushes with attractive foliage like the lemon myrtle which has lemon scented leaves, the feijoa, which can make an attractive hedge and has lovely edible flowers and fruit and the lilly pilly which has attractive glossy leaves and colourful foliage as well as fruit.
- Also, an attractive structure can be a centrepiece of the whole front yard, as our herb spiral (or wedding cake) is for our place.

It is worth considering the attractiveness of the plants and structures you are putting in at the planning stage. You could even put in themed areas into your garden where plants all have the same colour flower or foliage as an extra accent. The possibilities are endless!
Fixed Characteristics
While most things can be changed to improve the productivity of the de-lawned front yard, there are a couple that can’t be changed and so when plans are being developed they will need to take these into account.
Aspect – this is the compass direction that the land faces. That is to say, which way the land slopes. Here in the southern hemisphere, the ideal aspect is northerly to north easterly as land with this aspect receives the most sun and access to the sun can be a limiting factor in growing productive plants. A friend of ours has a block with a southerly aspect and while they do have some productivity, they have to work harder to get it.
Shade – again, this is about sun access and to be sure, some blocks will be able to modify this if it is due to trees or bushes growing on the property. However, if it is due to vegetation on surrounding properties, solid fences or buildings like a neighbours two story house, particularly if these are to the north of the yard in question, it is likely that little can be done. The limitations on these shady areas should be built into the plan and rather than planning, say, an extensive tomato bed, look at understory plants which can be productive in partial shade, leaf crops or if the area gets little to no direct sunlight at all consider mushrooms.
Infrastructure
This is the stuff you need to do first, so that when it gets down to putting in other features like trees, veggie beds or natives, where they will go is already prepared to receive them, and set up to support their productivity.
The infrastructure that will need to be planned out at this point takes into account three aspects -
- Earthworks – including the de-lawning process itself.
- Water
- Soil
Earthworks – if your plan requires any earthworks, for example - terracing, ponds, raised beds or swales, it is easier to build these in at the start of the project and get them done first. Nothing worse than getting the sloping front yard nicely planted out then realising there were terraces to go in. If there is a timeline of some description, earthworks should be right up there at the start. The information identified at the assessment stage under the ‘drainage and slope’ section should make this stage of the plan easier.
Also at this point, decisions can be taken about the level of de-lawning that will be required. Remember, it does not have to be all or nothing, and it does not have to be all done at the start, it can be staged to fit in with your vision and resources.
De-lawning, or the removal of your lawn to facilitate replanting with productive species, can be carried out in a number of ways. One way which is not recommended is the use of chemical poisons to kill the grass in situ, particularly in this case because the de-lawned area will be used to produce food although it is not a really good idea at any time. Three more appropriate ways to achieve this are –
- Solarisation – this includes covering the area to be de-lawned in black plastic, weighted down with stones or bricks for 6 weeks in summer, then remove the plastic sheet and use a shovel flip the dead grass, the re-cover for a further couple of weeks.
- Turf cutting – either using a turf cutting machine or by hand. This removed the grass and roots as a layer, leaving the bare soil behind. The turf which has been removed can then be composted.
- Layering – similar to solarisation, it kills the grass by placing layers of cardboard and/or newspaper which is then wetted down and covered by a thick layer of mulch, which cuts the grass off from the sun and rain. It will take longer (up to 6 months) to have the desired effect but doesn’t look bad while it is doing its job.
If you are in a hurry, hire a turf cutting machine or if the area is on the small side you could cut the turf by hand, if speed is not so essential then solaristation or layering would be the way to go. Be sure to allow for the required time and resources in your plan so that you can de-lawn when the time is right!
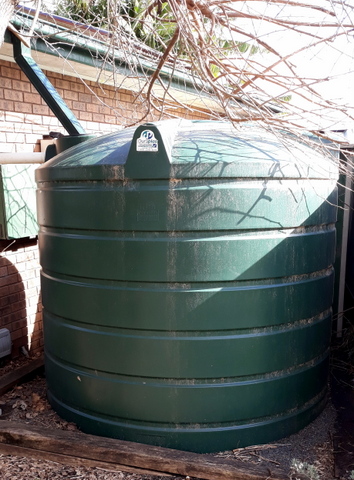
Water – If the intention is to grow (hopefully productive) plants and not just cover the de-lawned area with gravel, access to water will be paramount. This may just mean, particularly at the start, that you have a tap within watering distance of any planted out areas. Thinking longer term at this point and allowing space for water tanks will make it easier when you have the resources to actually put the tanks in place. So that takes care of two out of three water resources – reticulated water and rainwater tanks – but another option should also be considered at this point, storing rainwater in the ground.

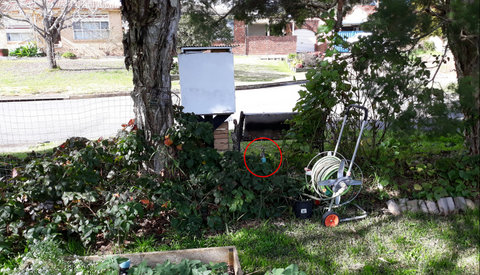
The three principles are – slow, spread and sink! Allow rainwater falling on your yard and perhaps even entering your yard from the neighbours if this was identified as a source during the assessment, to slow down, spread out and soak into your front yard rather than just running off into the gutter. This can be considered in tandem with earthworks to make sure the land forms support slowing, spreading and sinking of rainwater. Planning of features such as swales, raingardens and permeable pathways will support this process.
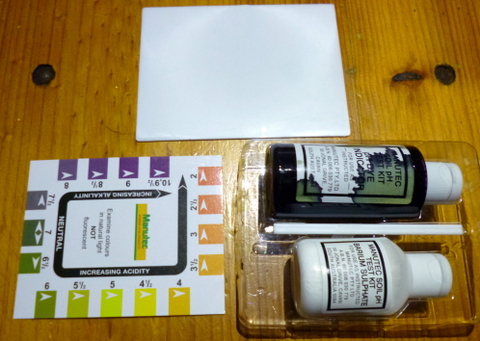
Soils - Before you look at what plants you want to grow, you need to have a feel for what your soil is like, is it clayey or sandy, acid or alkaline, alive or dead? Now is the time to revisit the soil tests you did during the assessment phase, or if you didn’t get around to it then, do it now! You need to understand what you are dealing with, so a bit of research can be invaluable!
You should include in your plans any work that will need to be done to improve your soil. If you have any concerns about specific issues like lead, get your soil tested for that as well.
In terms of amending your soil to make it more productive, there is one material that can be added to the soil which will tend to bring it back to a more productive state: well-made compost. However there are other things you can add as well –
Sandy soil: add organic matter
- Clayey soil: add calcium sulphate (gypsum) to improve soil texture
- Acid soil: add an alkali like gardeners lime ie calcium carbonate or dolomite; wood ash will also help but the alkaline material is more soluble so likely to be leached out by rain
- Alkaline soil: add elemental sulphur or iron sulphate
- Soil lacking in biota: biofertilisers or Actively Aerated Compost Teas
There are simple home tests which will allow you to get a handle on what your soil looks like, but if you want more detail in your plan, it might be worth talking to soil test professionals who can, for a price, put a detailed profile of your soil together for you.
At this stage it is all about working out what it is that your front yard soil needs to be (more) productive, then putting a plan together to achieve just that, and integrating the requirements into your main plan.
Next: Part 5B Plants
Previous articles:


