


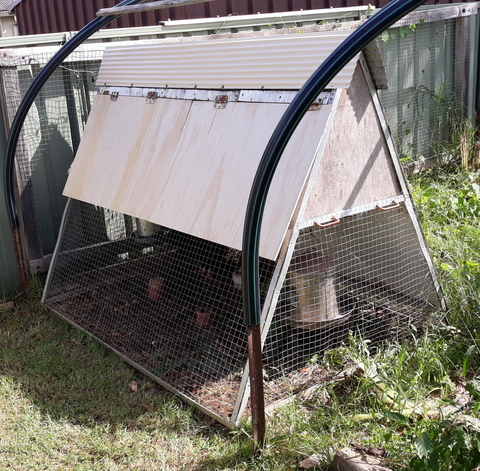
All good things must come to an end, and that includes the front access door of the chook tractor which I lift up to access the eggs and feed the chooks. This style of access door was installed on the second chook tractor design and since this is now the third chook tractor which this particular door has graced, it has been out in the weather for somewhere upwards of 15 years. I picked it up when I worked for a plywood manufacturer *mumble* years ago and it hung around for quite a while before it was pressed into service with the chooks.

To be fair, it has been on the downward spiral for some time also. It have already turned it round once so that the top edge originally hinged to the main body of the tractor became the bottom edge. That did extend the life of the access door for some years, but did not totally stave off the inevitable. Also, the way it was designed, the ever increasing gap between the access door and the top of the tractor meant that more and more rain could get in to the chooks living quarters. The rain bomb hit so it became time to act!
This time was a bit more drastic and, while lifting it up to access the egg area, a couple of hinges pulled out and a split developed down the middle. Lumps of plywood has also started to fall off and to prevent chooks escaping and laying waste our food production area. Also, the way it was designed, the ever increasing gap between the access door and the top of the tractor meant that more and more rain could get in to the chooks living quarters. Then the rain bomb hit so it became time to act!

The original door was 1800mm x 500mm and in my quick wander around the big green hardware store (while studiously avoiding anyone unmasked at the time), the best I could find was two pieces 1200mm x 600mm. So I fired up the circular saw and cut 300mm of one end of each of the new doors. The hinges did have a nasty habit of being the first point of failure so I cut some 42mm x 19mm DAR pine and screwed it into the top of the doors where the hinges would be affixed.

It was then just a case of affixing two equal access doors side by side rather than one long one. Each door was affixed by two hinges and due to the fact that it was two shorter doors rather than one long one made the job easier. There were a couple of other advantages to this configuration as well –
• We tend to lift up one end or the other to access one side of the nest area and this puts strain on the other side, resulting in damage to the original door. With two new doors there is less weigh bearing on the hinges.
• Being able to access one end only means that if there is a chook in residence at the other, it can’t just decide to break out and trash the place while we run around like idiots trying to catch it. (not that that ever happened, but just sayin’)
• The new design with the strengthening of the hinged to end, also reduced the likelihood of rainwater getting in to the living area.
The doors need a paint but that will happen later, once the rain had passed.

2023 Update
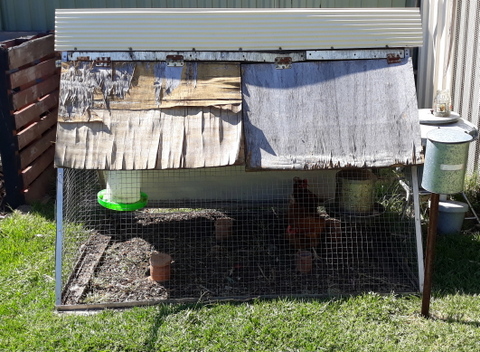
Of course things don't always work out the way we want them to, and I didn't get around to painting the new doors, but that shouldn't have made a difference bacause they are supposed to be marine ply, aren't they? Well after over a year of weathering you can see from the photo below that they were not doing well!
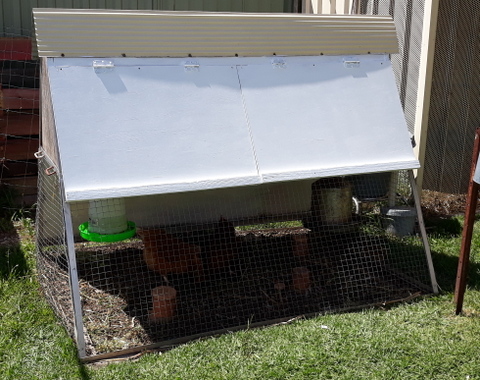
I have had to get hold of some more plywood, but this time I made sure to give the doors three coats of gloss white paint before I put them on! Unfortunately, during the process of replacing the doors I found that the timber frame that I was affixing them to had rotted out as well and had to be replaced. The pic below shows what the chook tractor looks like now. The chooks (and I) are very happy with the result!.
For more information on the chook tractor and its evolution, click here
