


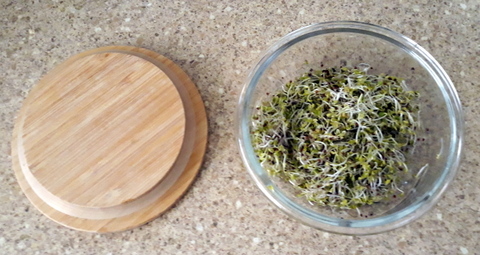
Ready to go in the fridge!
Growing edible sprouts is one of those hugely good ideas that everyone should know about, it can provide lots of fresh, nutrient packed veggies in about 5 minutes of work per day once you are set up and the setup is so easy and simple that even I can do it! If you have kids you can them involved in sprouting, if they are part of the process they will enjoy consuming the output even more.
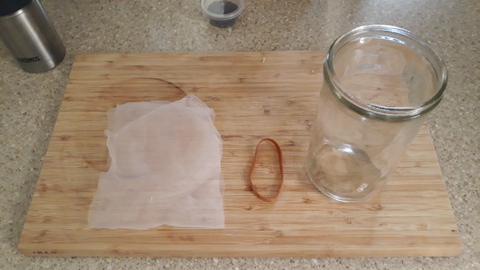
The basic idea is to get a container, a glass jar works well, and put a fabric cover over the top and secure with a rubber band. This is as technical as it gets, now get hold of some seeds for sprouting (no fungicide coating) put dessert or tablespoon full in the jar and fill the jar with water. Apply the fabric top, then leave overnight. Empty the jar through the fabric top so the seeds are retained, then rinse the jar and seeds with water morning and night until they get as big as you want!
You can mostly put a setup together from stuff you have hanging around, you only have to buy in the seeds………or do you?
If you grow your own veg it is quite possible to save sufficient seed to sprout them. There are some advantages to growing, saving and sprouting your own seeds –
- Allowing your veg to flower attracts beneficial insects (pollinators and predators) to your veg patch,
- Saving the seed means you can continue to grow your veg, season after season, from your own resources,
- Excess seed can be used to provide even more food for you in the form of sprouts or microgreens,
- Some veg (eg brassicas) can be very promiscuous and easily cross pollinate, providing seed that will not breed true, but can still be used for sprouts and microgreens.
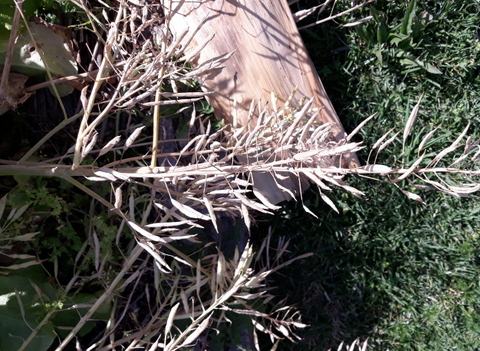
Broccoli seed, ready for harvest
As well as tending to cross pollinate, brassicas are prolific seeders and I recently availed myself of a mixture of bok choi and broccoli seeds. Seeing as I wanted them for sprouting, I did not need to keep them separated, as I would need to do if I was looking to use them to re-sow.
By using your own seed, you can be sure that they are absolutely fresh, so that they will have a high germination rate and you can be confident that they are not treated with anything, so are safe to consume.
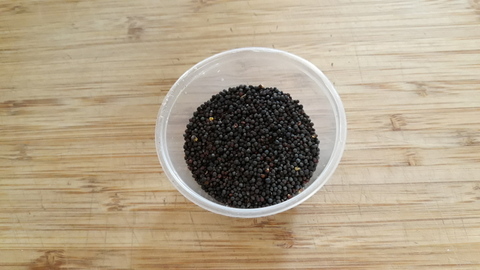
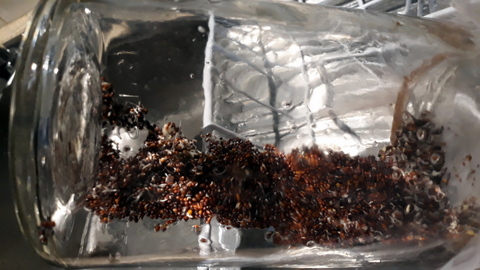
Harvested seed

The inital soak
Freshly rinsed and drained on day two
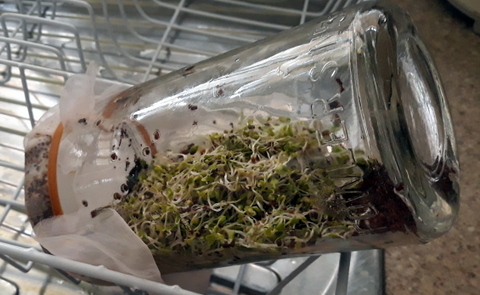
A week later and looking good
However, having said that, it will still be worth doing a germination test to make sure they are viable, and to prevent disappointment later on. This is also a fairly simple process, get hold of some absorbent paper, I use coffee filters but others use paper towel. Dampen the paper and place a representative sample of seed in it (label if you are doing more than one test). Fold up and place in a jar and keep warm of a few days. Check how many of sprouted and express as a percentage of the original amount. If the germination rate is less than 50% you can still sprout, but will get a lot of unsprouted seed mixed in with your sprouts.

Seed and seed pods on the newspaper
There are a number of ways to save brassica seeds, but I just waited until the pods were nice and dry, then crushed them over some newspaper, then took the empty pods away and place the seed and chaff into a plastic container. Blowing across the top of the container (outside!!!) removes the lighter chaff and leaves the seed in the container.
For articles on sprouting and microgreens, click here, for a YouTube video, click here
For articles on seed saving click here, for some YouTube videos, click here.
For an article on conducting a seed germination test, click here, and Youtube video, click here.
