


About 15 years ago I was fooling around on the ‘net and came across the idea that if you dug unglazed terracotta pots into your veggie patch and then filled them with water, they would release that water slowly underground, thus keeping your veggies watered! In other words, ollas!
First experiments
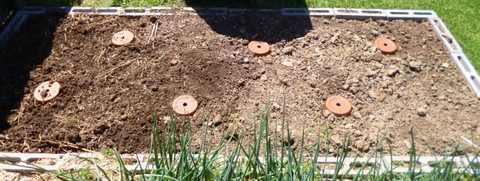
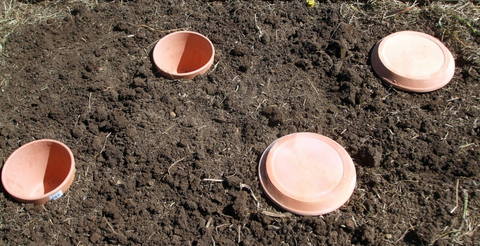
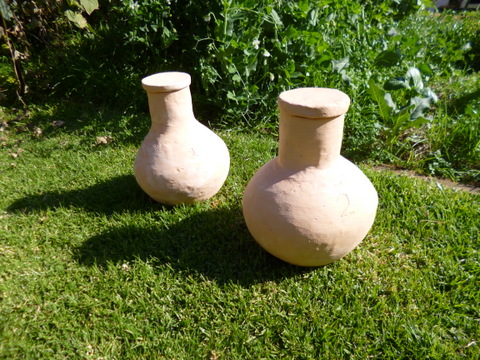
The pictures I saw were of round pots with a spout at the top, which would project above ground and allow you to put the water in. I didn’t have anything that looked like that so I got hold of some el Cheapo, unglazed terra cotta plant pots, and some pot saucers to go on top. I used silicon to plug up the drain hole then inserted them into one of our veggie patches. I dug them in a staggered pattern, with six pots in a 1.2 x 3 metre veggie bed, and this has been the pattern I used ever since.
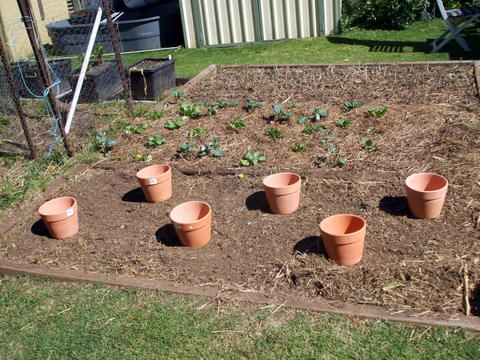
As a proof of concept it worked well, and when I removed them at the end of the season, the soil around the pot was just a mass of roots from the vegetables I was growing, showing that they also approved of the idea.
Craft of the potter
What I really wanted to do, though, was to learn how to make them myself. I signed up for a local, council run, potting class and fooled around making things, leaning various hand making techniques, but without using a potter’s wheel. Once I had enough practice, I started making ollas by coiling, this is a fairly easy skill to master, unlike throwing pots on a wheel.
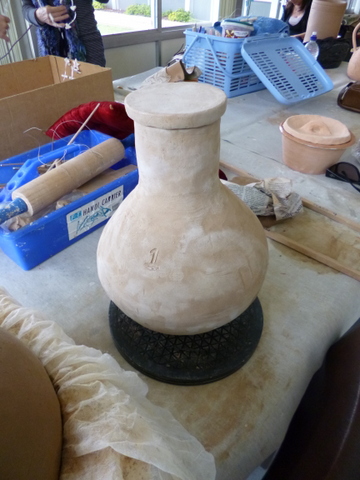
Number 1, Dry but not fired
I had calculated that I would need somewhere in the area of seventy ollas to fit out all of our veggie beds and so I set to work. Each pottery session was 2 hours, but it took me about 2.5 hours to make a single olla plus lid. So in other words, about two weeks per olla roughly. Each olla holds about 6 litres of water.
As I made and fired sufficient ollas for a bed (4 or 6 depending the size of the bed), I would dig them in and see how things would go with them in practice. I found that they worked very well, but with a couple of caveats when using them in association with the chook tractor, mainly involving the lids. The point is also worth noting that, because these were made one-at-a-time over a couple of years, there is some variation in sizes of things like lids and the filler neck.
Over time, I wound up making two types of lids. The first type had an overhanging lip all the way around the lid of the olla. This worked well for filling the ollas with water, because I have a trigger gun with a long aluminium tube attached which fits on a hose from one of the tanks which has a pump. I just lean over, push the tube up under the lip and then the tube can go straight into the olla, filling it up without me having to scramble around on my knees to remove the lids. When the olla is full, I just pull the tube out and the lid slips back into place over the opening and I move on to the next one.
That is the good bit. The downside is that when the chook tractor is in place, the chooks can also easily flip the lid off and then chuck all sorts of debris down into the olla while they are scratching around. Where the filler neck is wide enough, I can reach down inside the olla and remove the debris, but where the neck is too small, this means the olla has to be dug up, turned upside down and shaken to remove the rubbish.
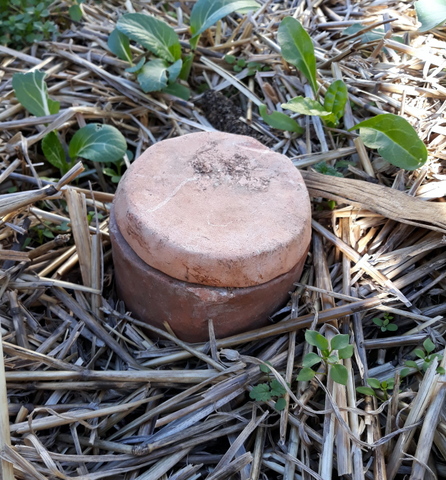
To get around this I designed lids that had no overhang, some with sides that sloped inwards so that the chooks would get no purchase and flip the lid off and others with flat sides, these modifications worked well. It did, of course, introduce complications when refilling the ollas with water but even that was not much of a problem. All our ollas have one or the other type of lid.
If I were doing it again I would make them to a standard size. With the filler necks being different sizes, the lids were also different sizes. To make things easier (I thought) I put a number on the side of the olla and the same number on the lid so they could be matched up. What I forgot was the majority of the olla is buried, so it would have been better to put the olla number on the side or top of the filler neck.
Commercial pots and Ollas
By the time I got about half way through making the from-scratch ollas, I started to get frustrated with the time it was taking. I did experiment with several other types of irrigation for the veggie beds, but still came back to ollas as my go-to. I needed a better plan!
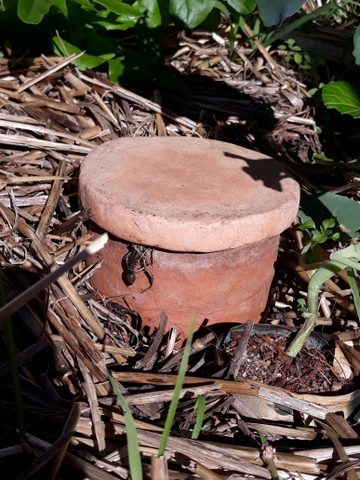
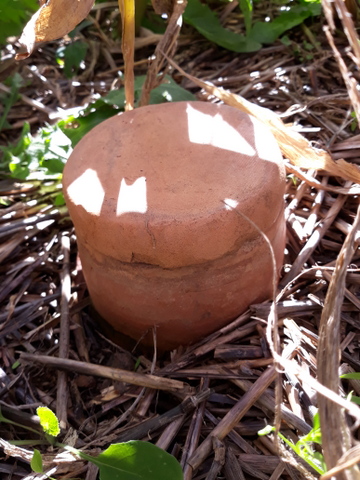
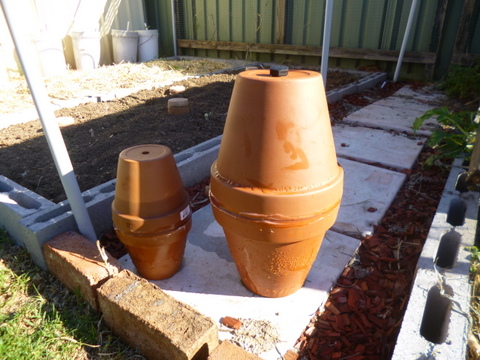
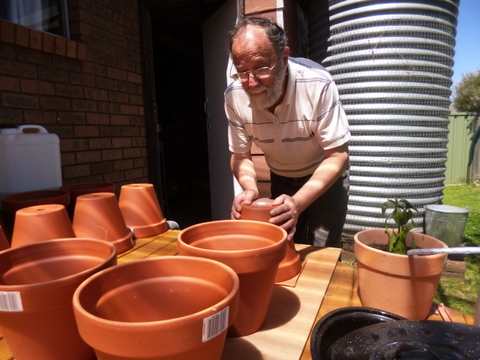
My better plan was to go back towards my original idea, but this time use commercial pots one on top of the other, the drain hole of the bottom one blocked with silicon, and the two joined at the middle, leaving the top drain hole open for filling the olla with water. The process of manufacture was basically –
- Cut a thin piece of plastic film to go under the drain hole in the bottom pot, put it in place and fill the drain hole with silicon.
- Sand the rim of both pots to ensure good sealing.
- Apply silicon to the top the pot with the filled drain hole, invert the second pot and place it, rim to rim, on the first
- Allow the silicon to cure for 24 hours.
- Once cured, do a test fill to ensure there are no leaks. If no leaks, you are ready to go!
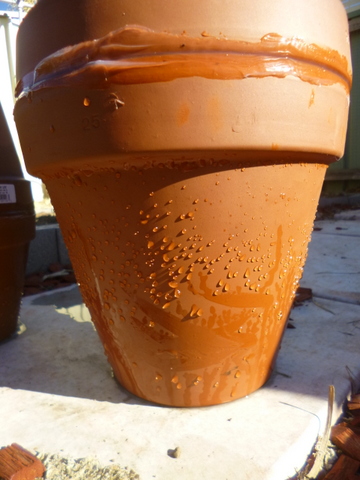
Testing prior to installing, just to make sure the water comes through
The ollas I made myself were generally thicker (10mm – 12mm) than the commercial pot ollas where are around 5mm – 6mm thick. This means that the water tends to drain out more quickly from the thinner walled ollas. This can be good in hot weather, but means you need to top them off more often.
I found some plugs that would fit in the top of the olla, but for the most part, due to the smaller filler hole the chooks didn’t kick much debris down into them so I don’t bother with the plugs or digging them up and shaking the debris out. Also, leaving them without the plug means that they can be easily filled with the tube and hose setup and I still don’t have to go grubbing around on my knees.
By using different size pots to make the ollas, I have been able to use them in a number of different situations including large pots and hanging baskets as well as in the annual veggie beds.
Conclusion/Suggestions
In general terms I am very happy and satisfied with the ollas and their performance in the veggie beds, and pots. I will make the following suggestions –
- If you are making them from scratch, make the filler neck big enough so you can get your hand down and pull out any accumulated rubbish.
- If you are numbering them, place the olla number at the top of the filler neck as well as the lid.
- Consider what type of lid you want to make, depending on how you will use them.
- Ollas from commercial pots are easy and quick to make, the larger the pots you use the less often they will need to be filled but the more space they will take up in the bed.
Associated Links
Making the original commercial pot based ollas (Article)
Making ollas from scratch (Article)
Making ollas from pots (Article)
Making and installing Ollas (YouTube)
Low cost Low tech watering overview - contains information on use of the root waterer used with ollas (Article)
