


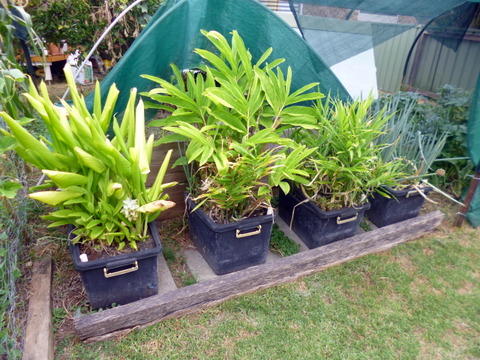
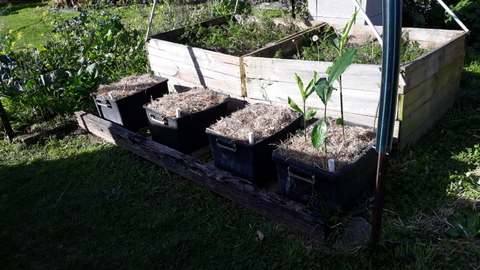
In 2005 I put together 4 self-watering containers to grow various crops in the back yard. To access the article I originally wrote about how I did it, click here, or if you want the YouTube video which I created much later on how to make self-watering containers, click here.
While I started out growing all sorts of things in them, I eventually settled down and used three of the four to grow members of the Zingiberaceae family, that is to say ginger, turmeric and galangal, and they have all been very fruitful. The fourth one has been a bit varied, with its occupants including, at various times, spring onions; tomatoes and cotton, among other things. Now I have decided to grow another of the Zingiberaceae clan: cardamom, in the fourth container but that is a tale for another time!
I must admit that it has been many years since I pulled them down, removed the growing crops and inspected the containers themselves as well as refreshing the potting mix, so it was not before time that I decided to do it this winter just gone (2022).
To start the process I cleared the area and put down a tarp to take the plants and spent potting mix, then attacked each container in turn, it took a few days.
The first part of the process was to remove any vegetation still growing from the rhizomes with secateurs, but because it was late winter here they had died back to the soil surface (except for the galangal for some reason).
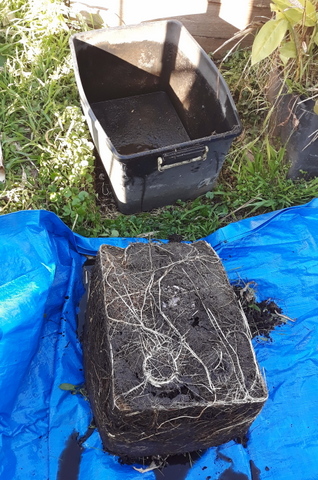
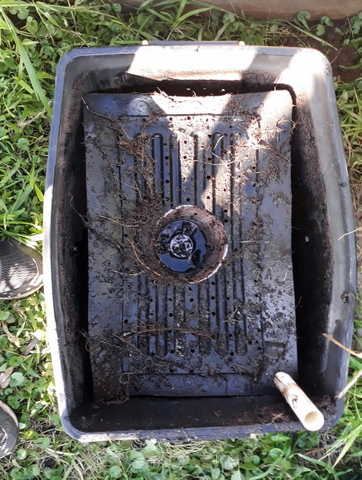
The next trick was to tilt the container up on one end to allow any remaining water in the reservoir to drain out, which only took a few minutes. I then tipped the container fully over onto the tarp, face down so to speak and then removed the container from around the plant mass. At this stage the barrier between the growing area and the reservoir, the pot allowing the water to wick up and the supports for the barrier were totally enclosed within the plant mass in what should have been the water storae reservoir in the bottom of the container.
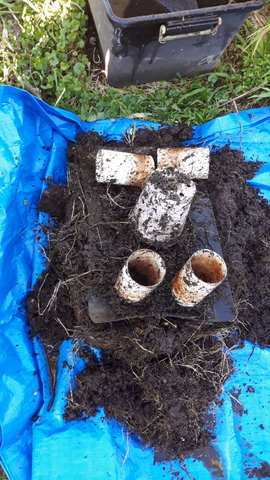
After a bit of rummaging around it was a simple matter to remove the supports (Plastic tubing), the pot and the root mass from the reservoir area of the container. One point of note was that when I originally built this set of containers I used cable ties to secure the pot and the supports to the underside of the barrier, although in later builds I figured this was unnecessary. It seems it really was unnecessary because the ones in place securing the supports and the pot were mostly broken and no longer effective, only one or two in each container were still intact.
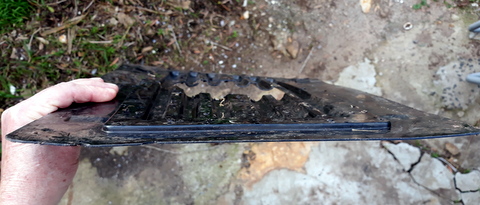
With the bottom stuff removed, this left the barrier, firmly secured to the plant mass by roots and looking somewhat distorted by the weight of the plant mass such that the edges had a distinct downturn. To remove it from the plant mass was not as difficult as I expected and I removed all the roots from the side I had access to, then peeled it off the plant mass, leaving a whole stack of roots and rhizomes of the main plant, plus some weeds!
The deformation of the barrier needed to be fixed before replacing everything in the container so that all the new potting mix didn’t get immediately dumped into the reservoir of the container around the deformed sides of the barrier. I did this by placing the black plastic barrier between a thick pane of glass and some fibre board, in the sun. The sun went through the glass and heated up the plastic barrier, softening it. The weight of the glass then pushed down on it, flattening it out again. Job done!


On inspection, the outer containers were in pretty good nick for being out in the weather for over 15 years, the only issues were caused by me falling over the *@%&*! things while carrying some stuff and walking backwards (don’t ask!). Anyway a bit of silicone at the time and they were good as new.
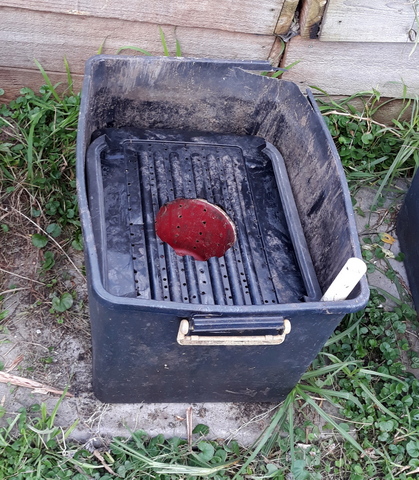
It was then a fairly simple matter to replace the supports and plant pot in the correct area and replace the barrier so that the container could be refilled with potting mix. Unfortunately the containers had bowed out a bit at the sides, which would have allowed some potting mix to fall into the reservoir area. To prevent this I still had a bit of the plastic which goes around the top of the container spare, so I cut some lengths and placed them in the sides of the container to fill the gap.
I then refilled the container with potting mix, and after freeing some suitable (decent size reasonable root growth) rhizomes from the plant mass I replanted them in the potting mix and mulched them all with sugarcane mulch. Once the weather warms up they will have plenty of space and nutrients to regrow, while I process and/or pass on to others some of our sizeable rhizome harvest.
Original article on how I made these is available here
YouTube video on making self watering containers is available here
