There are some things you just can’t rush! I built a forge out a truck brake drum about 35 or so years ago, and since then it has been in a number of ‘temporary’ set ups, but it was originally destined for the garage. Not long after I built the forge I put together a brick support for it (mortared in – it ain’t moving!) but because I needed to put a hole through the garage roof to install the flue, it never really happened. So, after 35 years, why now?
Funny you should ask......
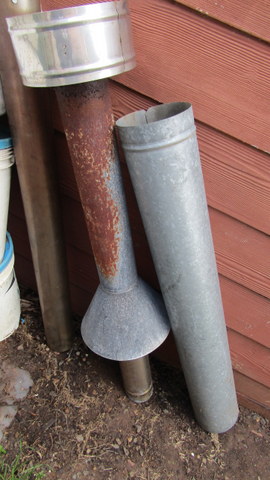
Not that long ago I was driving home from my daughters place and saw a combustion stove flue kit outside someone’s house for disposal. It went into the back of my car nicely! Then I was talking to a mate about getting hold of a steel 200litre drum to use as a shroud over the forge, and he had a few so he gave me one. Finally we decided to have a blitz at our place by Permaculture Sydney West, and I would have all the help I needed to install it, so all of a sudden I was good to go!
The perennial problem about a leakless penetration through the roof of the garage was also solved by finding out about the Dektite roof flue flashing, which enabled me to put the flue through the roof without causing a deluge next time it rained. More on that later!
So with everything in place, construction could begin –
The Shroud
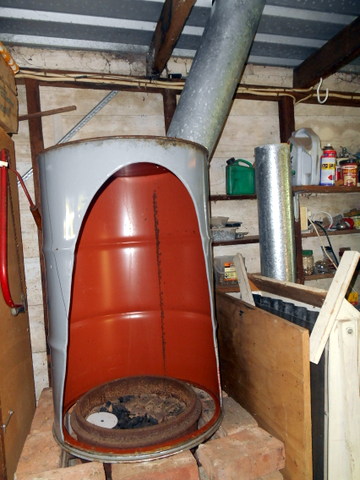
The idea of the shroud is to guide the smoke and heat up from the combustion area in the forge towards the flue and then on outside, thus preventing the garage (and my lungs) from filling up with smoke and crap. We started with a 200litre steel closed head drum which was in reasonable nick for having been stored outside for a while. It was easy enough to remove the top of the drum (the end with the bungs in) with an angle grinder, this surface would rest atop the forge body.
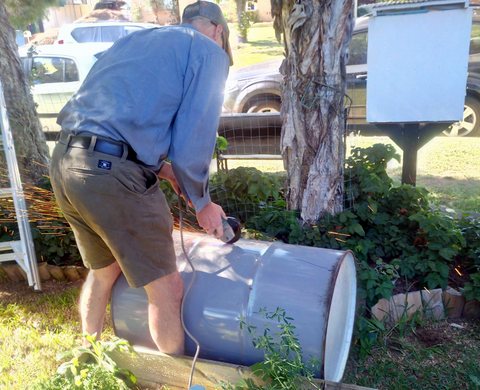
The second part was a little more complex and required drawing an ellipse on the side of the drum with the wide part toward where forge would be and the narrow end towards the top, from which the chimney would be fixed. The size of the ellipse is a trade-off between allowing enough area to work, and enclosing enough area so not to allow too much smoke and fume to escape. The apex of the ellipse is only about 8cm from the top of the drum, and I think it may have gone a bit too high, and if use proves me correct I may have to put a bit of sheetmetal over the top of the ellipse to cover it in a bit.
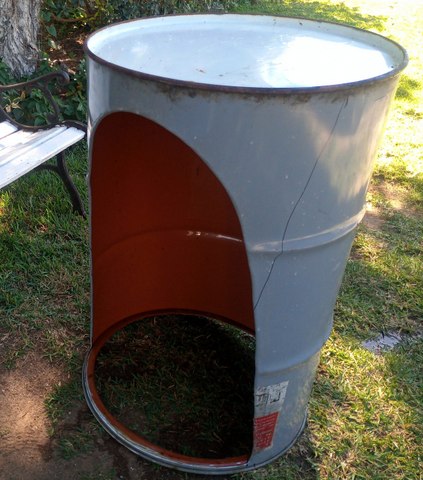
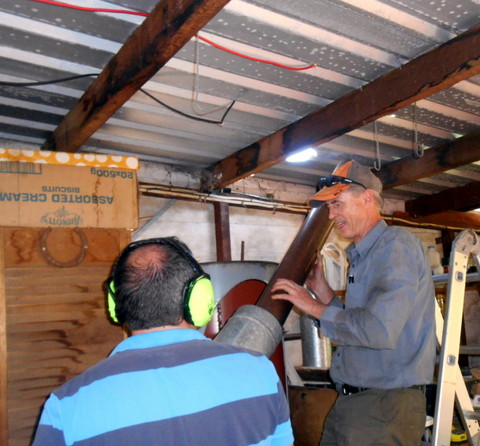
To make the elliptical cut out of the drum was, again, just a process of drawing the proposed line in with permanent marker and cutting it out with the angle grinder. There was a bit of a complication though, in that the operator (ie me!) would be working right next to the cut metal edge, and all the opportunities for head or hand gashing that that would entail. To sort that out my friends Andrew and John, who was the craftsman at this point, bent the cut metal edge over on itself to form a safer edge using a pair of pliers and a hammer.
An OOPS Moment!
While this more or less finished the shroud, another issue had sprung up. It was my intention to take the flue up from the back of the shroud at 90° to the top of the shroud, right through the top of the garage roof to provide a vertical flue or chimney. That was what I wanted when I built the brick base, but as mentioned earlier, that was over 35 years ago and things had changed! On top of the garage roof was now a part of our solar panel array and as luck would have it, the western end of the array ran right over the top of the space where the chimney was to emerge!
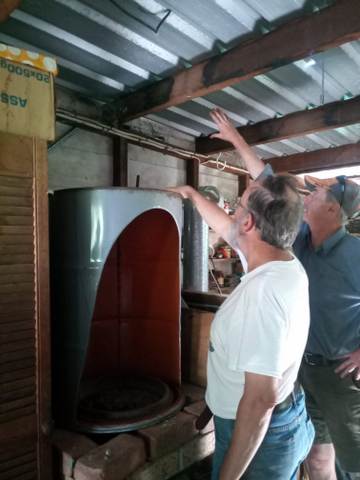
There seemed to be two possible remedies to this problem (apart from throwing our hands in the air and just going to lunch), the first one being to take the chimney at an angle out the back of the shroud, through the side of the garage and then up. The second way of doing it was to run the chimney off the top of the shroud as originally intended but at a 65° angle towards the west, so that it emerged from the roof at a 65° angle rather than the 90° angle I had originally intended. After much discussion it was decided that the first way had too many issues (requirement to construct or buy and angle piece for the chimney; the side wall of the garage contains asbestos) and compared to the problems with the second alternative (it looks silly), the second one won!
The shroud was then placed on top of the forge and the installation of the chimney began.
The Flue/Chimney
The first action was to cut a hole in the top of the drum to allow the smoke and hot gases to enter the flue. The diameter of the inner section of the flue was 110mm so that was the size of hole to be cut. Due to the small diameter of the hole an angle grinder was not suitable so we decided to use a nibbler. A nibbler is a is a tool for cutting sheet metal, operating much like a punch and die, with a blade that moves in a linear fashion against a fixed die, removing small bits of metal and leaving a kerf approximately 6 mm wide. The pieces of metal removed are half-moon shaped with two sharp points, they are quite small and as such can get into all sorts of interesting places, especially if you are operating the nibbler above yourself.
The nibbler is operated by being clamped into the chuck of a drill, the drill then driving the nibbler to remove the metal. You just drill a hole in the metal to be cut, insert the nibbler and press the trigger of the drill – then you cut! The nibbler made short work of the hole in the top of the drum. To make things easier the hole was not cut at the rear of the drum, but at the very right hand side (western end) of the shroud to reduce the angle required to ensure the chimney emerged well away from the solar panels.
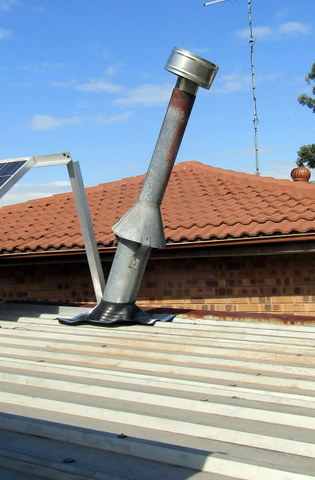
The next thing was to work out where the chimney would emerge from the roof and using the nibbler, cut the hole. The hole through the roof needed to take not only the inner flue but also the outer flue casing as well, which was 180mm in diameter, so we cut the hole around 200mm in diameter. We cut the hole in the roof as close to the solar panels as we dared (using the nibbler again), then slid the flue in through the hole until it made contact with the top of the drum (shroud) where the hole was.
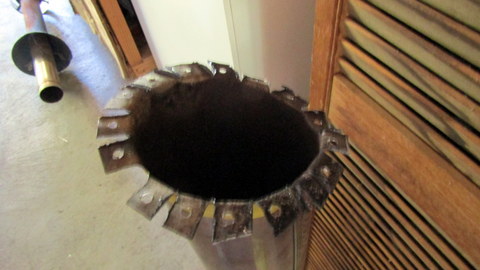
With the hole in the roof and the shroud now in place, it was time to insert and fix the bottom part of the flue to the top of the shroud. This was accomplished by making small cuts in the end of the flue using the angle grinder, bending them out to the appropriate angle and then screwing the end of the flue down onto the top of the shroud.
With the inner flue secured it was a (comparatively) simple matter to slide the outer casing down inside the roof over the flue and then secure it to the shroud so that here was an air gap between the two to provide some insulation. We secured the outer casing by cutting some triangles of metal out of the end of the casing to form tabs, bending the tabs to the required angle and screwing them to the top of the shroud as well.
With the lower section of the chimney now sticking out of the garage roof at an angle, we fitted the Dektite seal over the top of the chimney and pulled it down onto the roof. We then fitted the top part of the chimney and the chimney casing over the part exiting from the garage roof. With the chimney fully in place it was secured by applying (lots of) silicone to the underside of the Dektite and then screwing it down to the roof of the garage. I waited with baited breath for the next heavy shower of rain, but when it came there were no leaks whatever, so the operation was a success!
Connecting the power
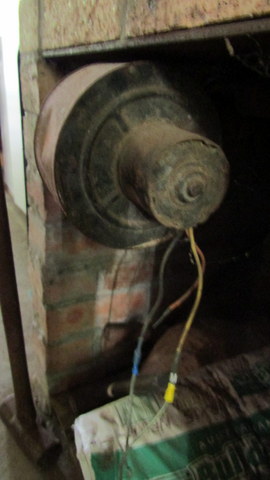
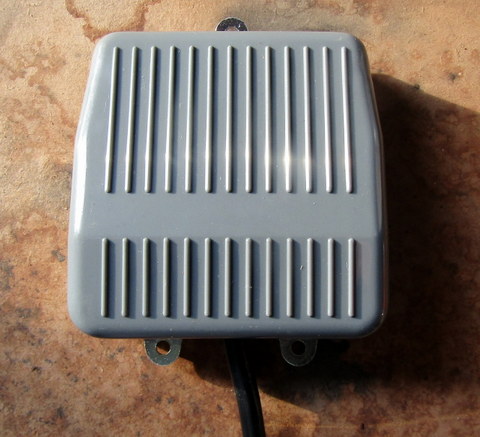
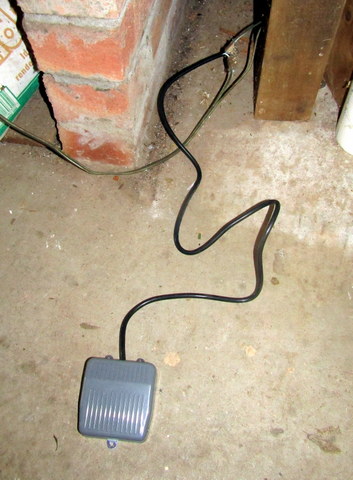
The only thing left to do before the forge could become operational was to fire up the blower. The blower was out of a car and so ran on 12 volts DC, I needed to get power from the board on the other side of the garage. Fortunately there were some redundant wires that I was able to repurpose to provide power to the blower. I wanted to be able to operate the blower with a foot switch, so I picked up a new foot switch and wired it in. It is rated for 220v but seems to do the job pretty well.
So now we are right to go!


