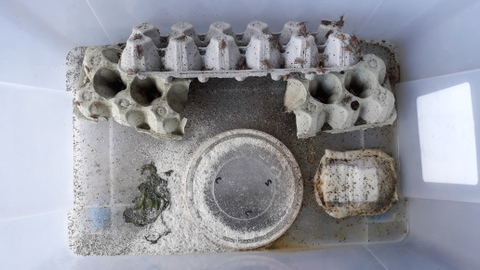
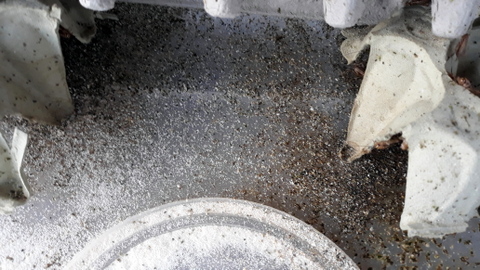
If you are starting out with adult crickets to breed up more, or have gotten hold of some pinheads to rear to adulthood, you will need to clean out their living quarters every week or two, and the size of your crickets will dictate how often that is. Generally speaking, a whole stack of pinheads don’t make much of a mess and they don’t crap much, but a smaller amount of full grown crickets will mess up their enclosure quickly and effectively. It will just come back to keeping an eye on your farm and cleaning them out when required.

This is the way I have developed over time and it seems to work for us, at least the crickets have not lodged a formal complaint so I figure they are on board!
To get the cleaning regime up and running you will need a spare cricket accommodation box (or ‘tote’ if you will) to move them to. Crickets, along with most creatures, produce crap or ‘frass’ to use the technical term. Over time this will build up and cause problems, including unpleasant smells if allowed to accumulate. The entertainment value in cleaning out the cricket accommodation is being able to transfer the crickets, but leave the frass behind. (sounds like a good song title!)
I generally do this outside, the fresh air is good, especially if you have left things a bit longer than you should. With both the original and new cricket accommodation sitting next to each other I pick up the egg cartons that are the crickets primary place of residence, the next action depends on the condition of the egg cartons. If the egg cartons are in reasonable nick, not too chewed or dirty I can transfer them, crickets and all, to the new accommodation. If they are too chewed or dirty I shake them over the new container so the crickets fall off. Either way, some frass is transferred but in general terms the new accommodation is much cleaner.

With the main mass of crickets transferred while clinging to the egg cartons, there will still be some stragglers left in the original tub. Using a small plastic container and lid I hunt them around, catch them up and transfer them to the new accommodation. This can get a bit tedious, depending on the number of crickets, but usually only takes only 5 to 10 minutes.
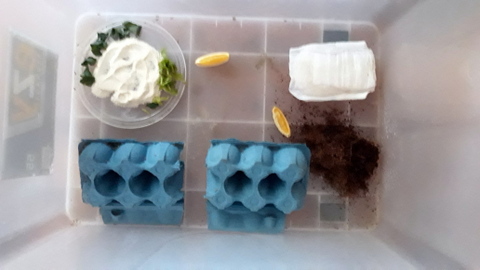
With the crickets in place, it is then mainly a case of transferring new food plates, complete with food, the water sponge, or a new one if the old one is yucky, new egg cartons if required and the laying area if one is being used. The addition of some fresh greenery for them to eat completes the clean out and they can be returned to wherever it is you keep them.
I give the original container a good hose and scrub out, making sure the water and any frass goes onto the garden. I then just rinse it out and leave it sitting in the sun so the UV radiation will take care of anything still living on the plastic.

Harvesting
Now the fun part!
Having grown the crickets up to a nice size it is time to *cough cough* ‘harvest’ them, so something (or someone) can use them for food.
I have found two methods that seem to work OK. The first one is to put a high sided container with some lettuce leaves in the bottom, into the cricket habitat. I leave that for a number of hours then open up and stick a lid onto the container, trapping any crickets present inside. The whole container then goes into the freezer, the crickets go off to sleep in the cold and….. dinner is served. While the second method uses less finesse, it works if I am in a hurry. Again, I get a wide mouthed plastic container, open the habitat up and then pick up one of the cricket-laden egg cartons and shake a portion of crickets into the container. The lid goes on the container and the rest of the crickets and the egg carton are returned to the habitat. The container goes into the freezer and away we go again!


