Installing Our Latest Rainwater Tank
Created: 2018-01-06 03:29:28
We have a number of rainwater tanks which we draw from for various uses but mainly watering our productive gardens, front and back. Having a number of tanks is good because:
- if one becomes contaminated we still have access to water,
- a leak in one does not mean we lose all our water, and
- We don’t have lots of room so it is easier to find space for a number of smaller tanks rather than one large one.
That being said we currently have storage for about 11,000 litres of rainwater, but I would like at least 20,000 litres, so I have spent some time working out how to increase our storage volume. I had a thought that we could put a slimline tank next to the driveway in front of the garage, so I broached it with the boss and the neighbours (it would be on our land but would impact their view) and both were OK with it.
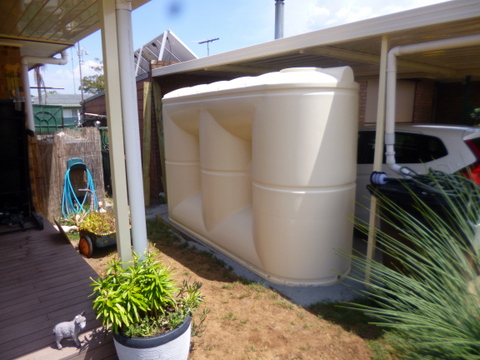
After much research we settled on a “smooth cream” coloured 5,000 litre plastic tank, which is a similar colour to the carport from which it would take its water. It was 222cm high x 322cm long x 96cm wide, that way it would fit in so that there was room to get around it both ends and would be far enough away from the car that you could still open the doors. It would replace the wheelie bin tank currently taking the water from the carport roof.
To make the base I used a similar process to the one we used to install out 5500 litre round tank. In this case however, because the tank was a tall form one I had to dig the foundations down about 150mm – 200mm at the high end so that the inlet of the tank was not so high as to cause problems piping the water from the roof to the tank. This required digging almost a dozen wheelbarrows of solid, dry clay soil out of the area so I could build the foundation. Fortunately the couple across the road wanted the soil I had dug out to build up part of their front yard, so I didn’t need to go far to dump it.
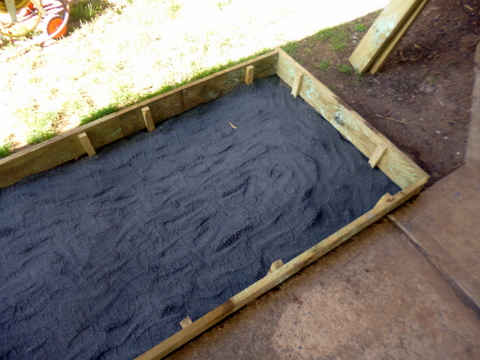
With the hole dug so that it was 50mm bigger than the tank footprint all around, I lined the edges with some 150mm wide x 28mm thick x 4000mm long CCA boards. Due to the slope of the land the eastern end was practically buried while the western end was about 100mm above the ground. I got hold of some 400mm stakes and placed the boards where they were supposed to go, drove in the stakes behind them, then screwed the stakes to the boards with 50mm screws. This gave me a good, solid surround.
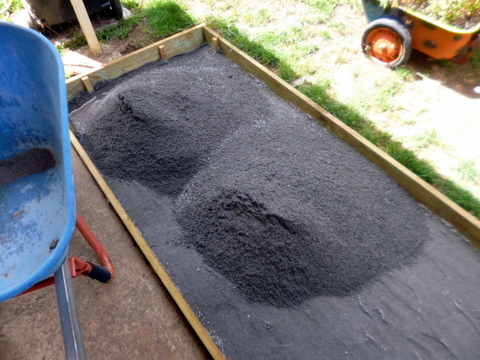
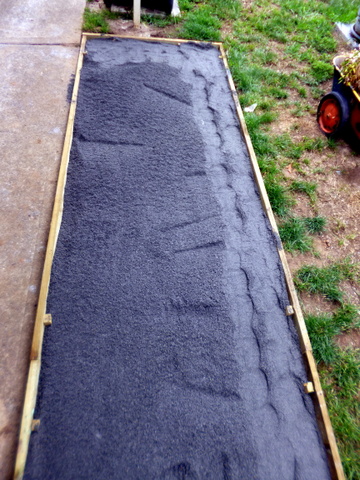
With the surround in place I worked out the volume (0.8m3) and after discussion with a supplier, bought in 1.5 tonnes of blue metal dust (also referred to by some as just “metal dust”). I barrowed in the metal dust in layers, using my weight to compact the blue metal dust between layers (ie after each layer I stomped it down – crude, but effective). I then smoothed off the top level with the timber surround, which I had previously levelled with a spirit level.
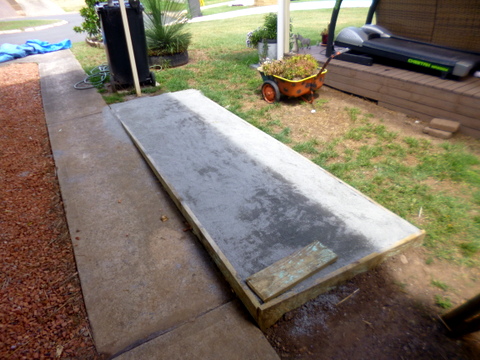
The tank was delivered a couple of weeks later and fitted onto the pad I had prepared pretty well. Now I had to connect up the downpipe from the roof of the carport (currently running into a wheelie bin I use as a storage tank) into the new tank.
All of the tanks we have currently in place are connected directly to the guttering. That is good because it gives us the maximum amount of water into the tank, but it is bad because any crap on the roof gets washed into the tank and will accumulate in the bottom, reducing the water storage volume over time. The answer to this problem is to install a “first flush” system, which allows the first bit of rain (and any associated dust and debris) to go to waste, leaving only clean water to run into the tank.
While it is possible to design and build one of these beasties from scratch, I lazily decided to shell out about $25 to a local hardware and pick up a commercial kit. The kit consists of a black plastic ball/float; a tee piece and an end fitting with filter and orifice disks, all in 90mm PVC. You also get associated hardware like the saddle clips to hold the pipe in place, but you have to buy the 90mm pipe used to make the body of the diverter as an extra.
")
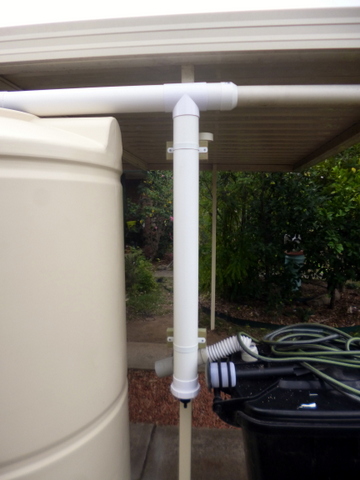
The idea is you install the tee piece between where the downpipe exits the catchment area and the tank. The first water from the roof flows down into the vertical section of the first flush diverter (taking dust and debris from the roof with it) and fills it up. This causes the plastic ball to float upwards and once the vertical section is full, the black ball blocks the entrance so that subsequent rainfall travels along the horizontal section of the pipe and goes into the tank. The water under the floating ball gradually leaks out through an orifice at the bottom of the vertical pipe, allowing the ball to drop, thus resetting itself for the next rain.
Unfortunately the downpipe coming from the guttering on the carport was 68mm (OD) so I needed, and thankfully was able to get, a converter to 90mm pipe. Fortunately there is an upright supporting the carport between the tank and the guttering so that is where I mounted the first flush diverter. As mentioned previously, the kit comes with a couple of saddle clips to attach the vertical section. So I screwed a couple of horizontal pieces of timber onto the upright to allow the saddle clips to be screwed into them and thus support the vertical section of the diverter.
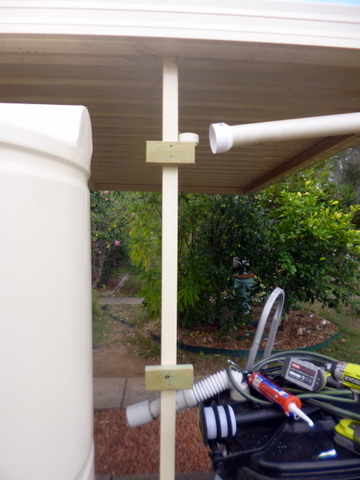
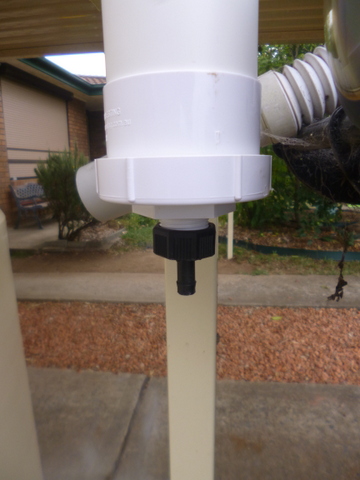
In the event, I could not screw the clips in tight enough and when the diverter filled with rain it was too heavy and started to slip through the clips. To prevent this happening I screwed a piece of timber to the post underneath the end of the vertical pipe such that the edge of the pipe sat on it. This now supports the vertical section and it cannot move down due to gravity.
The kit came with a number of orifice plates for the exit of the diverter, with two different size holes, which regulate the speed at which the water drains to re-set the diverter. I picked the smaller of the two types of orifice plates so we will see how that goes.
I assembled the diverter without using any glue (so that If I screwed it up I could pull it apart and re-do it) but it seems to be working well, all we need now is some rain to fill the tank! Due to the lack of rain for the past few months I have not put in an overflow on the tank just yet, the tank has barely a few centimetres of rain in the bottom so far, just enough to reach the bottom tap. When I do install an overflow will be 90mm pipe at the eastern end so that I can direct the overflow towards the street and hopefully in the future, into a rain garden which is yet to be built.