


One of the fun things with designing your own, or somebody else’s, permaculture garden (particularly if you haven’t been there very long) is knowing where the shade from existing structures and plants (such as trees) will fall throughout the year. There is nothing like going to a lot of trouble putting in a planting in mid-summer sun to find it is actually in shade most of the rest of the year. Well, worry no more! Following is how to make and use a valuable tool with which you can work out where shade will fall anywhere at any time of year.
Making the Sun Sight
The sun sight itself can be easily and cheaply put together with a drinking straw, protractor, length of string and a small weight but it can be put together more durably the way I did it. My way will cost a bit more, depending on what bits and pieces you have hanging around, but the end product will give you years of service. To use the sun sight to identify shady areas you will also need a compass and a sun position map for your latitude, but more on that later.

The idea is simple enough, first get hold of a protractor, the bigger the better but whatever you have will do. If you are going by the cheapie method, tape a drinking straw along the flat side of the protractor, then insert some string or cotton through the hole in the centre of the long side of the protractor and tie it off. Then to the other end of the string tie a small weight such as a nut (nut-and-bolt type nut) or fishing sinker etc. You are now ready to go!
But before we get too far into the mechanics of using the tool, here is how to make the sturdier model like I did.

Get hold of the largest protractor you can, in most of the school type of geometry sets the protractor is only 10cm long on the flat side, but I was able to get hold of a larger one that was 15cm long and that became the base for my sun sight. Rather than use a somewhat fragile drinking straw I had some 10mm diameter aluminium tube from a previous project and cut a length of 17cm long so that the tube would overhang 1cm each end of the protractor (no real reason for the overhang, I just liked the look of it!)

I bought a couple of P type cable clips from the local hardware to attach the tube to the protractor. While the protractor was a decent size it was still only made of thin plastic so to reinforce it I made a tracing of it on some 6mm three-ply plywood board and then cut it out with my small band saw, or you could use a fret saw. To hold it all together I drilled a 3/16” hole towards each end of the flat side of the protractor through both the protractor and the backing board, while holding the P clips in place around the tube and against the backing board. Sounds exhausting doesn’t it?

It is a bit easier to do than it sounds but the whole idea is to make sure that when the whole thing is bolted together, the tube is exactly parallel to the straight side of the protractor. With the holes drilled through the protractor and the backing board I used two 3/16 x 10mm (!!!) mushroom head bolts to put the thing together.
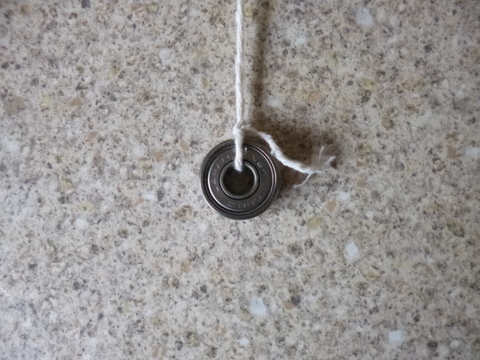
There is a small hole in the dead centre of the long side of the protractor, I used this hole and drilled through the backing board as well I then I threaded some string through the hole from the protractor site and tied it off on the backing board side with a large knot to prevent it pulling back through. I looked around for a weight to tie onto the other end of the string, to keep it vertical and while I couldn’t find any sinkers I did find a small bearing that has been hanging around for a long time, so it got the job.

Tying off the bearing to the free end of the string completed the sun sight.
Using the Sun Sight
Head outside with your sun sight, compass and sun path map (I laminated mine to make it more durable) and find an area you want to check for shading. If you are checking veggie patches and the like you might need to get down low to be absolutely sure. With your compass, find magnetic north then find solar north by adding or subtracting the magnetic variation for your area, then face solar north. This website will help you there.

Get hold of your sun position map and locate the sun arc line for the date you are interested in, let’s say it is first of July, it is nice and close to the shortest day when the sun will be at its lowest angle and shadows will be at their longest. According to my sun path map at midday on July first the sun will be around 33⁰ above the horizon here in Sydney. Hold the sun sight up with the tube facing solar north and with the string hanging down from the protractor, tilt the protractor up at an angle of 33⁰ from the horizontal, which will read as 57⁰ on the protractor (90⁰ - 33⁰ = 57⁰).
Now, look through the tube. Any object blocking your view (house, shed, tree, etc) will be shading the area where you are standing on the first of June. If tree branches are the cause of the shade they may be able to be removed. Repeat this process for several angles east and west of solar north so that you will have a good idea if there are any objects which may shade the area where you are standing over the sun’s arc.
This process can be used to identify shade sources in any area for any time of year, and if the shade is a problem that can’t be moved (due to existing buildings etc.) you can locate your growing or solar charging areas in a more sun-soaked area.
