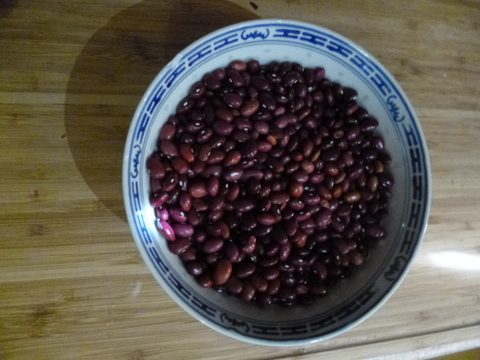
When we started towards a more vegetarian (well partially vegetarian) diet I decided I wanted to do more cooking with dried beans, and I really like red kidney beans. I prefer to use the dried rather than the canned variety and when I found out the secret of cooking with dried beans (make sure they are less than 12 months old) we went over to using them. Unfortunately it proved impossible to get locally grow ones and difficult to get organic outside the cans, so the obvious answer was to grow our own.
I did some research trying to find seeds which I could plant but was unable to and I suspect that (based on almost no evidence) there is no specific variety called “red kidney bean”. I think that any red bean may be pressed into service and then christened Red Kidney Bean as required. So I did the next best thing and bought some commercial red kidney beans from Woolies.
Now it seems to me that if I were growing dry beans commercially I would use a dwarf variety because they are much easier to grow and harvest on a commercial scale. Makes sense to me! Also a friend of mine had had a go at growing them and reported that his were dwarf. So I gave over one whole bed (1.2m2 x 2.0m2) to just grow the beans and see how many I could grow.
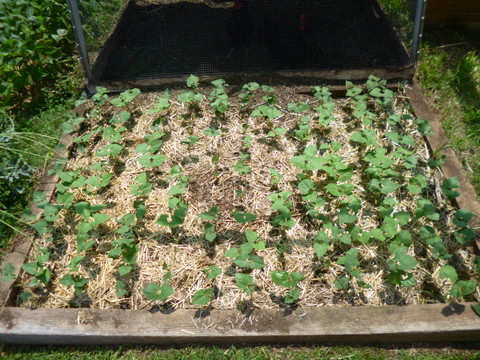
I planted them close together, about 50mm between seeds within the rows and about 100mm between the rows running across the bed. To do this required 56 grams of the commercial seed. The process was simple, just push the seeds in about 25mm and give them a good water. Within a week they were mostly up and I got a strike rate of over 90%. I planted them a couple of weeks before Christmas.
Unfortunately there was one hiccup, where a cat decided the fresh soil would make a good toilet, but after I replanted the seedlings and cleared away the offending material it was mostly OK. (Note to self: put a wire cover over newly cleared unmulched beds to prevent this happening again!)
With regular watering the seedlings came up strongly and were doing well. They shot up to the standard height for dwarf beans (excelleeeeent!) but then kept going! (uh-oh!) Yes, they were a climbing variety of red beans and my assumption yet again proved unfounded. There wasn’t really much I could do at this stage because I had not set the bed up for climbers.
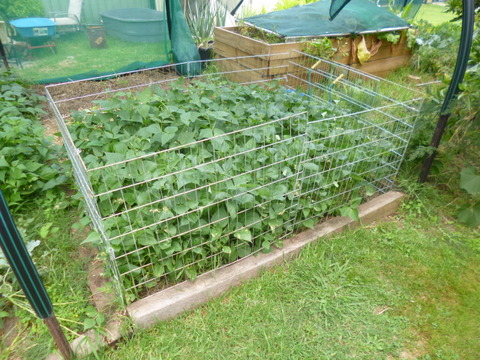
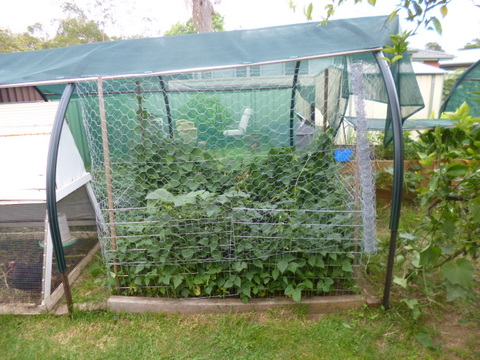
What I was able to do was set up some wire mesh screens which were stiff enough to be self-supporting around the plot so at least the outer plants had something to climb up. They went around the perimeter of the bed up to about 1.2 metres high. Some of the centre plants grew up, then fell over and headed for the wire mesh. The outer ones climbed up the mesh and continued on so I ran another layer of chook mesh around the top of the lower, stiff mesh and most of the bean plants seemed content with that.
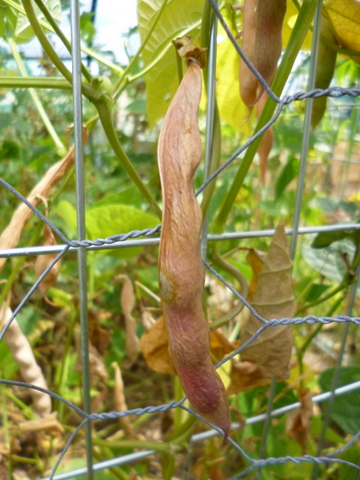
As usual with such things they grew to maturity and were ready to harvest, that is to say most of the pods were pale and the skins were thin, like parchment. It took till about mid-March for them to get to that stage. I went through and picked all of the really dry ones and a few of the semi dry pods. Any seeds not totally dry (they were larger, the skin not as red and they were softer) I just left out on a flat surface in the dining room and after a few days they were as dry as the rest.
When totalled up the yield was in excess of 560 grams or over 10 times the amount of seed planted. I think if the bed were set up better for climbing beans or if we could get a dwarf variety the yield would be even higher. Even so I am happy and will try this again, starting earlier next spring and try and get two crops in.
Another up-side is that the bed has now had an infusion of nitrogen from the beans (being nitrogen fixing legumes and all!) so that also should be factored into the equation. All-in-all this is something we will definitely do again.


