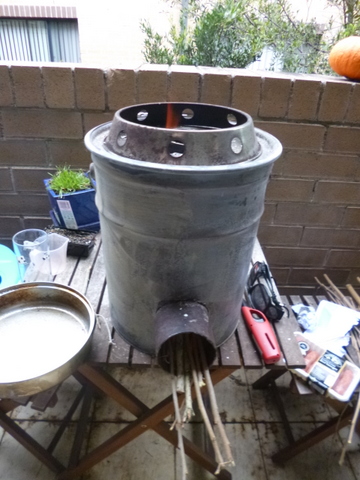
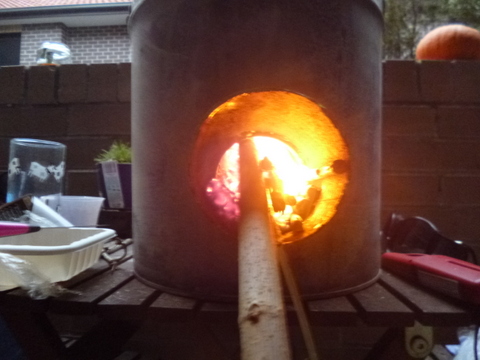
Since I made my original rocket stove some 5 years ago, I found that it worked so well that I wanted a second one so I could cook two dishes at the same time. I have done that using the much smaller rocket stove my son-in-law made but I wanted another one for us. I also wanted to make one for my eldest daughter so she could use it on the balcony of her unit, so I set about to design them.
I still had some of the 90mm steel pipe left over from constructing the original stove, more than enough to construct another one for us and for my daughter, so that would form the basis of the combustion chamber. With these ones however, I wanted to make a few changes.
The Containers
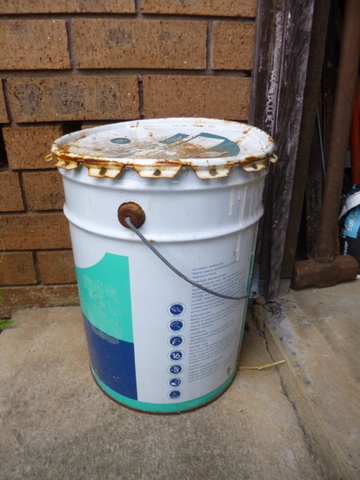
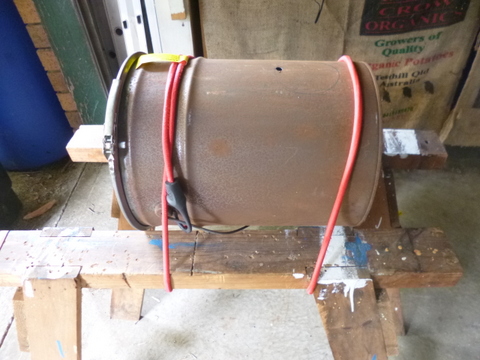
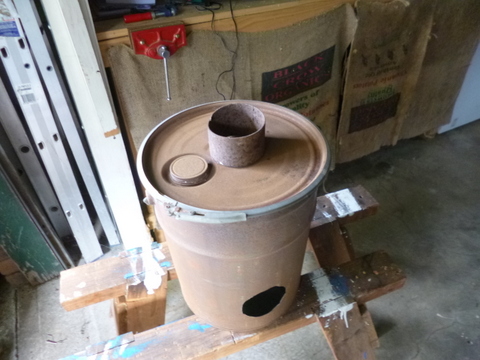
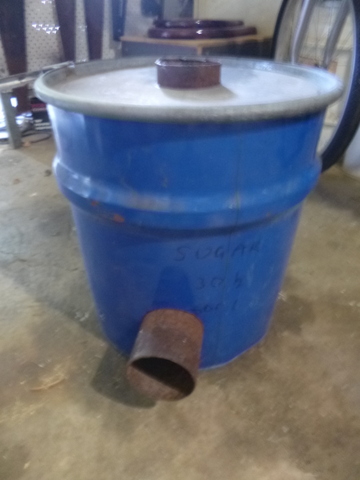
You can occasionally pick up steel buckets with lids which contained paint etc, for free and while I did get hold of one of them, cleaning it out proved to be a major headache because there was a sizeable plug of dried paint in the bottom. So I looked around the garage and found a couple of drums which were a little bit rusty, but overall quite sound. One had a covering or surface rust but some rust converter turned that into a surface ready for painting. The other was in pretty good condition but was larger in diameter than the original and so would be somewhat heavier when completed. I decided to use that one for us because of the extra weight and also, being larger, it would allow the use of bigger pots while still remaining stable.
The Combustion Chamber
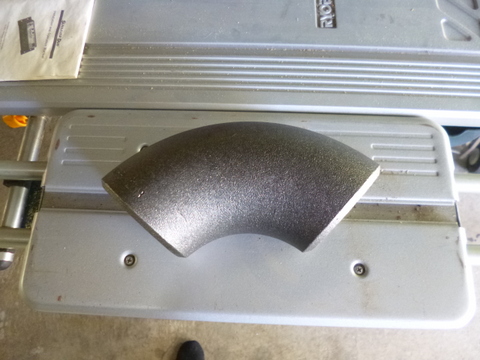
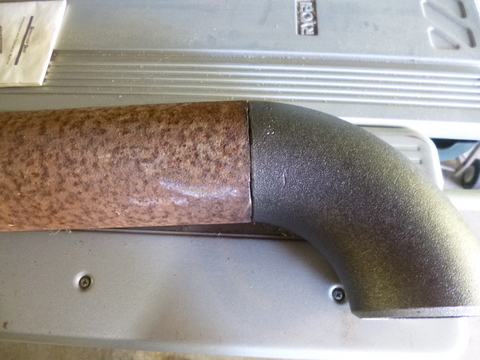
Rather that cut the pipe on a 45⁰ angle and then try and weld the thin walls together to form the right-angled combustion chamber like I did last time I hit on the idea of getting hold of a couple of 90mm right angle black steel (not galvanised, the heat would vapourise the zinc; not good to breathe!) elbows. These proved more difficult to get than I thought but I was able to identify an industrial plumbing supplier (Reece HVAC-R) who could provide me with what I wanted. The elbows cost me $20 apiece and were quite heavy, this was the idea because that made it easier to weld the thinner tubing to the thicker elbows. I also thought that the elbow was a smooth transition from the horizontal to the vertical part of the combustion chamber rather than the abrupt 90⁰ turn of the original which may assist airflow.
I also elected not to put in the steel shelf about a third the way up the horizontal combustion chamber which was in the last one. While it worked well initially, if you are cooking for any length of time the airway underneath the shelf fills up with ash and blocks the air supply anyway. So for these two I left it out.
Constructing the Stove
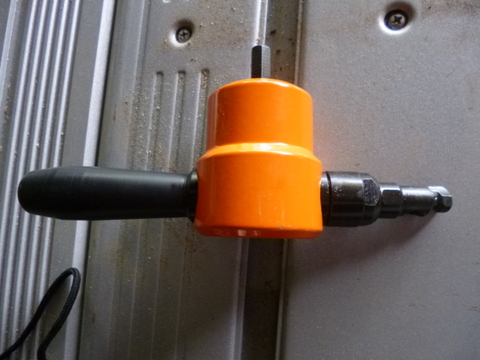
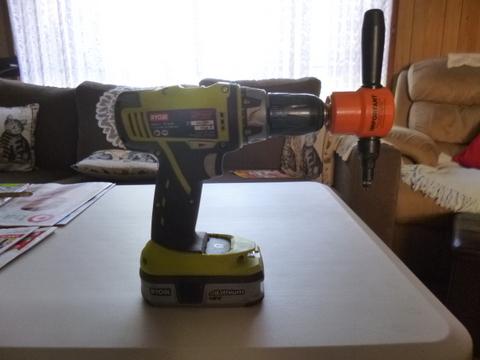
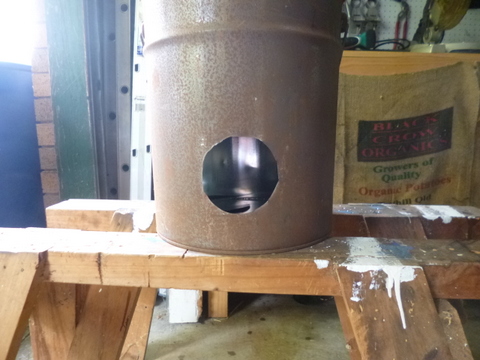
To construct the stoves I needed to cut a 90mm hole in the top and the side of the drum to accept the combustion chamber. The easiest way to do this was to trace around a section of the 90mm tube onto the outside of the drum with a pencil, then use a nibbler to cut out the hole. It is quicker and easier than the technique of drilling holes and filing the metal which I used last time.
A nibbler is a tool that fits onto a drill, the drill actuates a small reciprocating rod which is placed against the steel sheet you wish to cut (you need to drill a hole first if you don’t have access to a side). On each revolution of the drill the nibbler cuts out a thin, crescent shaped piece of metal, so that it cuts away along the line until the metal in the centre of the hole drops away. A word to the wise: sweep up and remove the bits of metal the nibbler creates from the floor before walking around in bare feet – I’m just sayin’.
With the hole cut, it was time for the combustion chamber. I measured the length of tubing needed for the vertical and horizontal sections and the wrapped some tape around the tube at the mark to ensure the line stayed straight. Taking my trusty angle grinder in hand (and putting on ear and eye protection first) I proceeded to make the cuts around the tube.
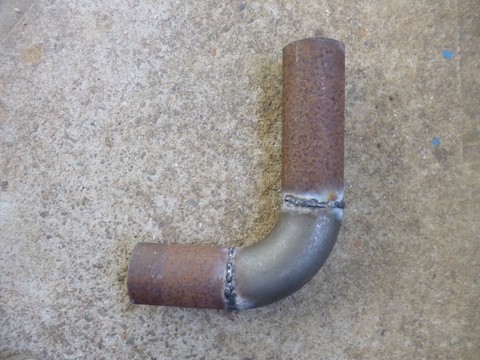
With both parts of the tube cut I positioned one (doesn’t matter which) onto the black steel elbow and tacked into place using 1.6mm rods at about 75-80 amps with my electric welder. Because the elbow was thicker steel I could direct the arc onto it and then run it onto the join, this reduced (but did not eliminate *sigh*) the chance of blowing through the thinner metal. With the job tacked I could weld it slowly a centimetre or so at a time and letting the metal cool a bit between welds. I then set up and welded the other part of the tubing, thus completing the L-shaped combustion chamber.
At this point I would like to recommend the automatic welding helmet to any handyman welders out there. They have become available fairly cheaply in recent years and are a great innovation. They allow you to set the job up and then strike an arc without worrying about getting the facemask down and wondering where you hand has moved to. You can see everything and then once the arc is struck the viewing window darkens automatically. They are a great innovation and make the job so much easier!
With the parts manufactured and assembled it was just a case of filling the body of the stove with insulation material. The insulation material must be able to cope with some pretty high heat and last time I used wood ash, which was free, but the downside is that wood ash is surprisingly heavy. The stove container for us was larger and the black steel elbows were surprisingly heavy so rather than take the easy way out this time I bought some perlite to fill both stoves, keeping them as light as possible.
We ran a test cook with the smaller stove at my daughters place the other day and found that it works fine – another successful mission!


