Seitan, also known as wheatmeat or gluten meat, is something I have been interested in for a while because it is a meat substitute which can be made at home from readily available ingredients, in this case: flour and water. It is basically a case of separating the protein component of the flour (gluten) from the carbohydrate component of the flour (starch). Needless to say if you are gluten intolerant there is nothing for you here, move along.
In theory, the process is to make a ball of dough, then wash it in water until the starch is released and you are left with a sort of stringy ball of gluten. That’s the theory. I watched a couple of YouTube videos and indeed (through the magic of editing) that was how it seemed to work, in no time at all you wind up with a ball of plant protein and then you go from there.
How it Worked
We have a supply of unbleached, organic bakers’ flour on hand and that was what I used, I figured that bakers’ flour was higher in gluten so I was ahead of the curve already. The process was indeed pretty simple up to a point.
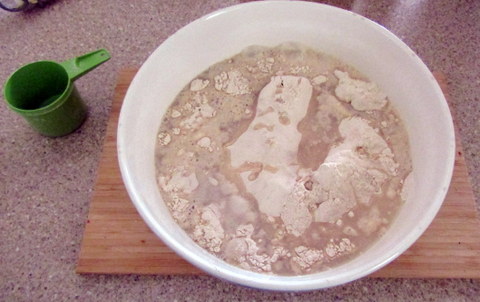
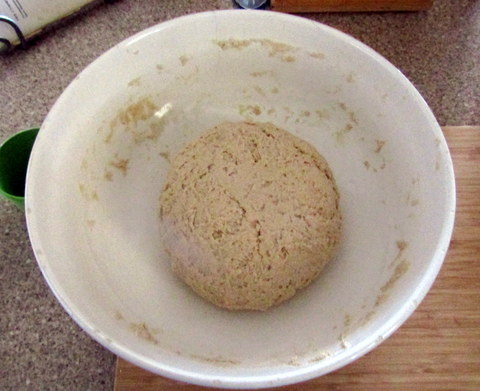
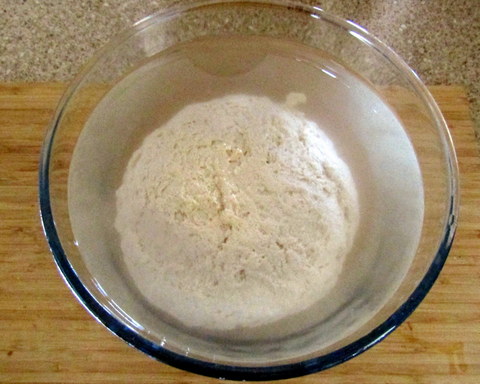
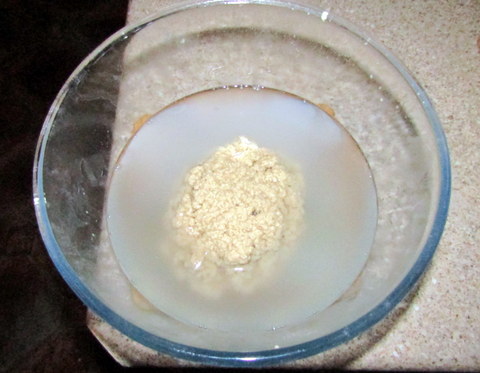
I combined six cups of the bakers’ flour with two and a half cups of water (the water content may need to be varied, depending on your flour) and mixed it around in a bowl until it came together into a dough and I then proceeded to kneed it for 10 minutes. The kneaded dough I then placed into a glass bowl, covered it in cold water and then left it to sit for 30 minutes.
A little interlude
The videos I had seen of washing the dough generally included using quite a lot of water and washing the starch down the drain. I thought that the process was very wasteful so my plan was to not only reduce the amount of water used but to capture the starch as well. Thus, on we go!
Washing the dough
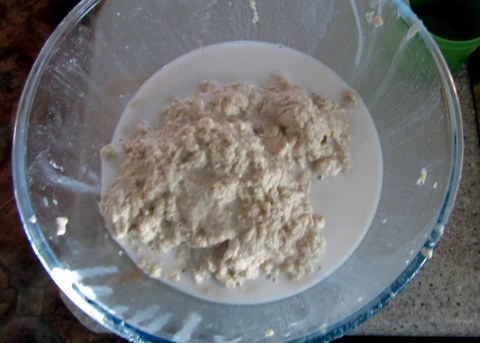
I transferred the dough plus water into my original mixing bowl then topped it up with more water. I commenced to squelch (technical term) the dough through my fingers to wash out the starch while keeping the gluten threads intact. The water did go milky very quickly with suspended starch, but the gluten didn’t seem to hold together as I was lead to believe it would. It sort of broke up and I had to sift through the water with my fingers to trap the gluten, smoosh (another tech term) it back into a ball and start again.
One result of this was that the washed starch component was still contaminated with gluten, my idea had been to let the starch settle out, decant the water, then dry and grind up the starch so I could use it as a thickener. Effectively wheaten corn flour (yes it is a thing). The other result was a reduction in the amount of gluten yielded at the end.
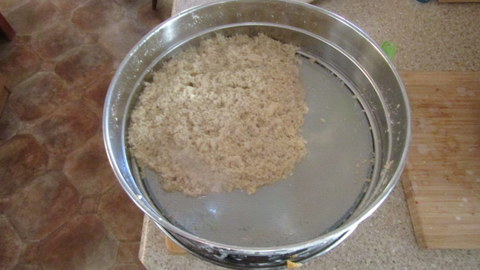
To cut a very long story just a tad shorter, I mucked around with the starch and gluten for a couple of hours trying to wash one out of the other with my hands. Not real smart on a winter’s afternoon but there you go! At one stage I hit on the idea of using a kitchen sieve to allow me to wash the gluten with the starch flushing through with the water. It did work to a certain extent but resulted in fine particles of the gluten (it is still pretty soft at this stage) working their way through the sieve and contaminating the water/starch slurry. So it was not 100% success.
The water that was starch and gluten contaminated mostly went on the plants but I did reserve the large mixing bowl full of water and starch/gluten. In the end I was not able to separate the starch to my satisfaction so the whole lot went into the centre of the banana circle. So much for that idea!
The Gluten
Eventually I was able to get to the point where the wash water was only slightly milky, so I had obviously removed most of the starch. It was then just a case of working it between my hands to squeeze out as much water as I could. All in all I got about one and a half cups of more or less pure gluten, which I placed in a container in the fridge, basically because at that point I was stuffed and couldn’t face cooking it straight away. This is NOT the dish to start so you can impress your beloved with your culinary skills a half hour before they are due to arrive!
Cooking the Seitan
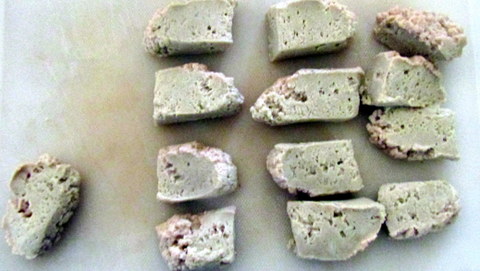
I trolled around the net and found a fairly simple method of cooking the gluten to make it into something edible ie seitan. The 1.5 cups of seitan I had made was in a single mass, so I cut it up into pieces that were probably a bit bigger than bite size at about a centimetre thick and about 5cm by 3 cm.
To cook them I made up one litre of chicken stock, using my stock powder recipe, and then added in ¼ cup of soy sauce. I brought it up to the boil, tossed in the seitan and reduced it to a simmer and simmered it for roughly 30 minutes. I found the result to be quite OK with the flavour absorbed from the stock/soy sauce and a firm almost meaty texture. Linda was less circumspect and pronounced it to be “salty rubber”.
The adventure continues!


