This is not the sort of issue that will spark protests or save the earth by itself, but it is something small that anyone who sews can do to minimise the environmental impact of their activities. They do this by sharpening their used pins and needles rather than tossing them to landfill. While it is not critical, it can be an indicator of our capacity to preserve resources rather than discarding them when they become worn.
Obviously, in terms of sharpening sewing machine needles, this would only work on needles that were sharp to begin with and applying these processes to ball point needles, for example, would not be recommended!
Why is it a problem?
Using blunt pins and needles can cause problems with the material being worked on, including snags and damage to the fibres of the fabric due to trying to force a blunt object through it. It can also leave holes in the fabric. Blunt needles also require more effort to push the pin through the fabric and so can cause problems with the sewing machine motor. The Janome website recommends needles be discarded after 8 hours of sewing.
How do you tell?
The ladies in my life who do this sort of work informed me that they could tell if a pin was blunt by the amount of force required to push it through the fabric. My daughter provided me a collection of new and used (blunt) pins to play with, but after some fooling around I had to admit to myself that I had no idea which was which. If I couldn’t tell the difference then there was no way for me to judge the effectiveness or otherwise of the techniques for sharpening pins and needles that I found on line.

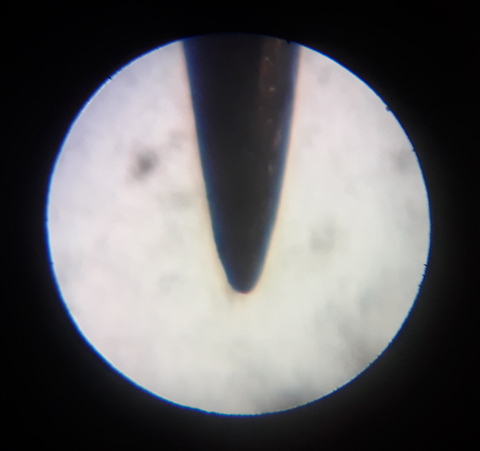
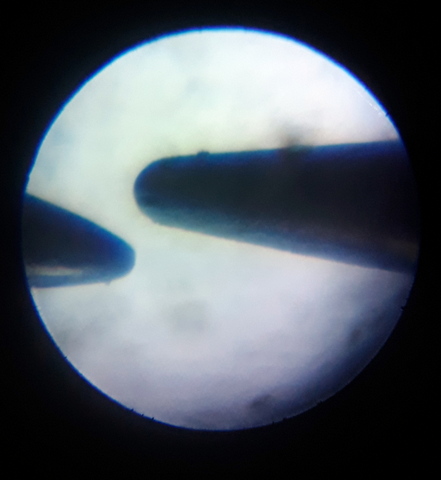
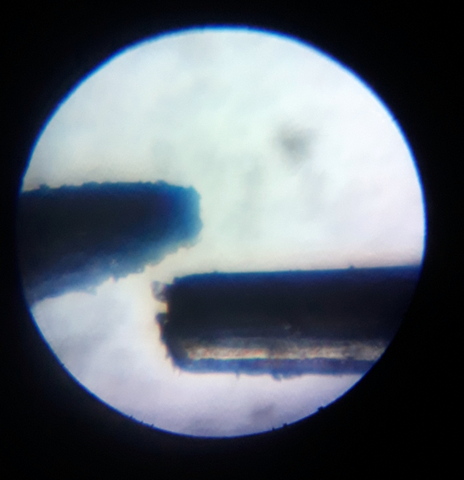
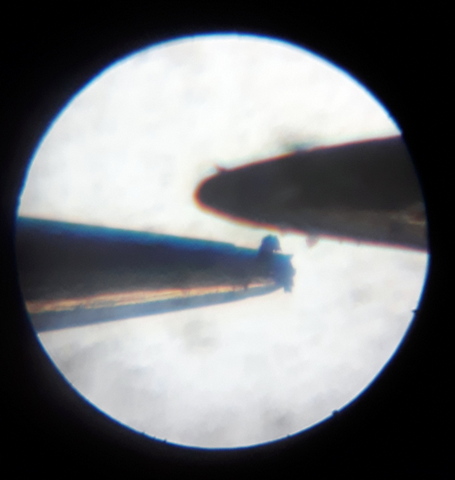
After some consideration, I decided to drag out my old high school microscope and give it a go. I was concerned that, seeing as it only had 100x, 200x and 300x magnifications the magnification may be too great to be useful, but in the event the 100X magnification worked very well. In fact, when I was able (after some jockeying around) to get the point of a dull or used needle and an unused needle under the microscope, there was a significant difference. While the unused pin point looked like …….. a pointy pin, the business end of the used one was in fact flat across the front. (see photo below). This was really interesting, bearing in mind that both pins looked exactly the same with the naked eye.

Sharpening Techniques
From what I could see, there seemed to be three types of sharpening techniques noted on the online sites –
• Applying a lubricant of some description such as soap or oil. Since this was easing the pin or needle through the fabric and not altering the sharpness of the pin, I did not look at this technique.
• Plunging the needle into an abrasive material through a fabric covering. One example of this is the small strawberry shaped attachment to a pincushion which is filled with emery powder and designed as a pin sharpener. A pincushion filled with extra fine steel wool is also included in this category.
• An abrasive of some description – I have seen the emery board used to shape fingernails and nail files mentioned in this context, but I suspect that fine wet and dry abrasive or a fine sharpening stone would work just as well.
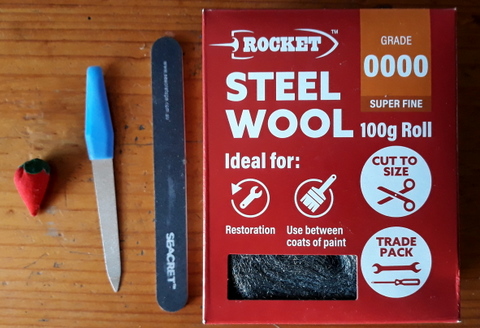
To test the second two techniques I decided to check the pins under the microscope and select used ones, sharpen them as directed with each technique, then compare them to a new pin under the microscope.
Checking the techniques
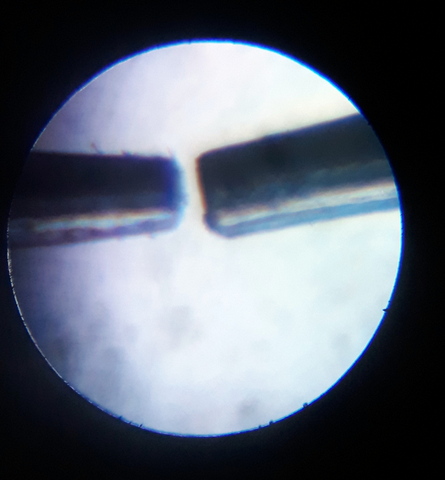
The first technique I checked was using the abrasive in fabric and in this case I used one of the emery dust filled strawberry sharpeners and some fabric stretched over extra fine steel wool to form a pin cushion of sorts. The process was to plunge the pin through the fabric and into the abrasive half a dozen or so times then re-check under the microscope. In both cases the effect was the same – while the pin was not sharpened, the edge of the flat end of the pin was rounded off somewhat so that would go towards reducing the effort to push the pin through the fabric. It did not, however, go back to being a sharp as a new pin.
(Late final Extra! I was doing some reading last night and no less of an authority that the “Readers Digest Complete Guide to Sewing” (page 12; 1984 edition) states that the little emery filled strawberry thingy was to CLEAN pins and needles, not sharpen them. Somebody got their facts wrong!)
The second technique involved rubbing the end of the pin over an abrasive surface, in this case an emery board and a nail file. I held the pins at an angle of about 15⁰ to 20⁰ to the abrasive surface and rubbed the point of the pin back and forth a few times on each. In both cases this re-sharpened the pins really well, to the point where they were almost the same as a new pin and allowed them to be returned to service.
Conclusion
With the right techniques it is not only possible, but easy and quick to sharpen pointy sewing equipment (pins and needles) such that they can be returned to service rather than discarded. A small win to be sure, but a win nevertheless reducing cost and waste associated with that most honourable of activities: sewing.
